Backyard Wood Fired (Pizza) Oven

We love pizza!!! Especially NY style pizza. In fact, we took our grandsons on a Pizza Tasting Adventure a few years ago. We visited 4 build your own pizza restaurants. We watched them build and cook our pizza, which created an inspiration in us to do it at home.

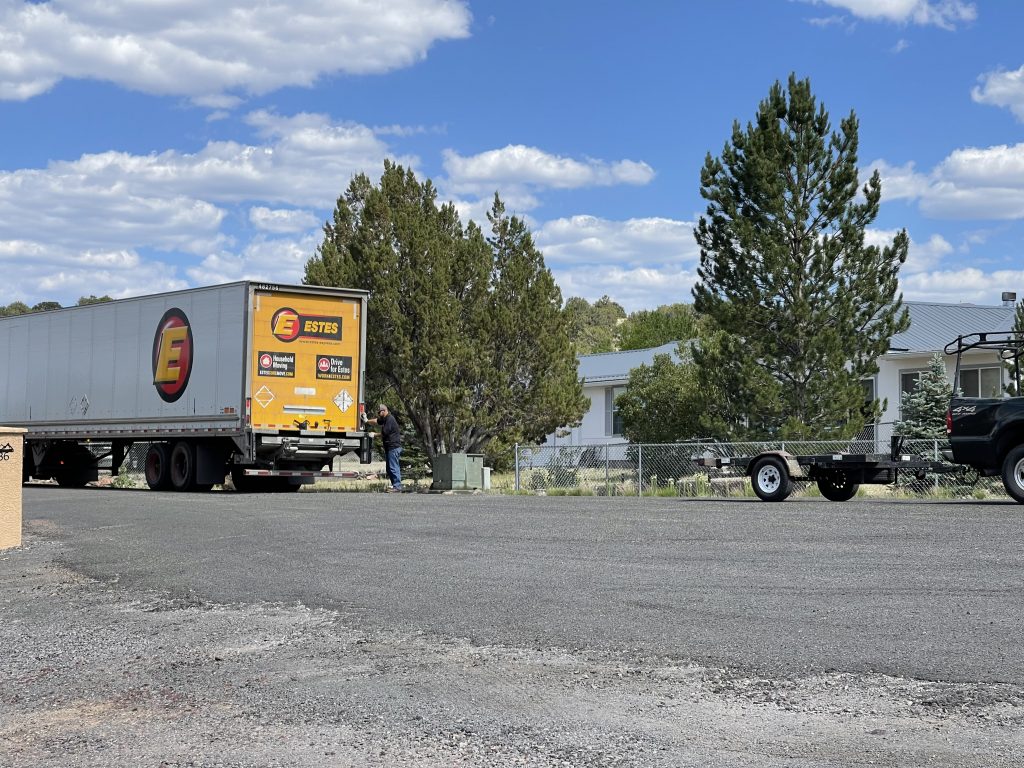
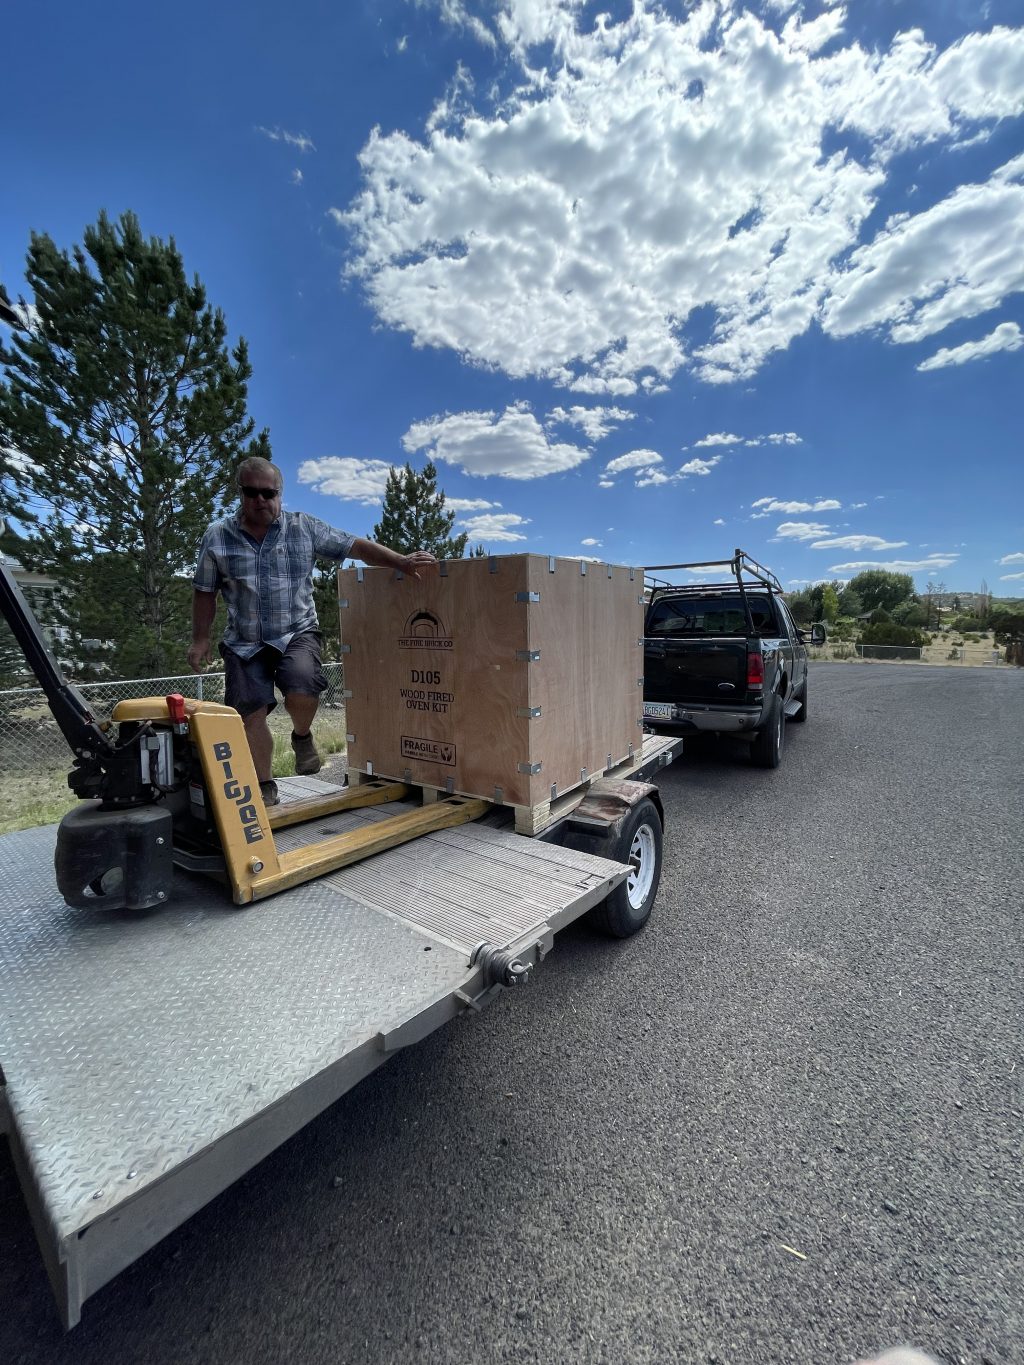
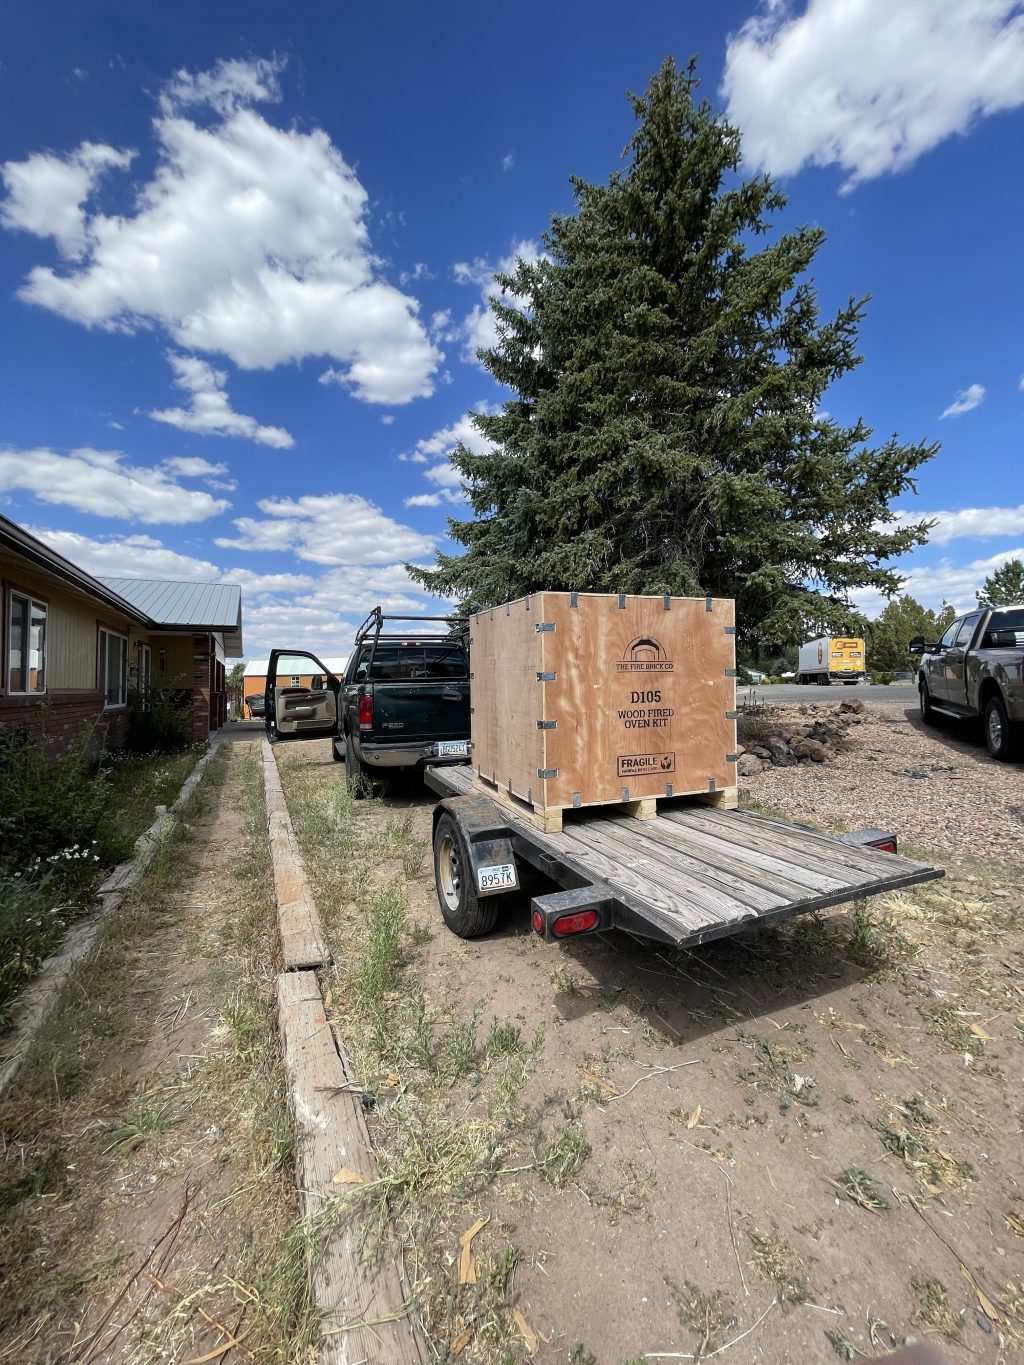
We decided we wanted a wood fired outdoor brick oven, so we started to research how to build one. There’s a lot of oven options out there. Gas, wood, metal, brick, premade, or build. We decided to buy a DIY wood fired pizza oven kit from The Fire Brick Co.. The company is located in Australia. We purchased their D105 Oven Kit. Their attention to detail and support was phenomenal.

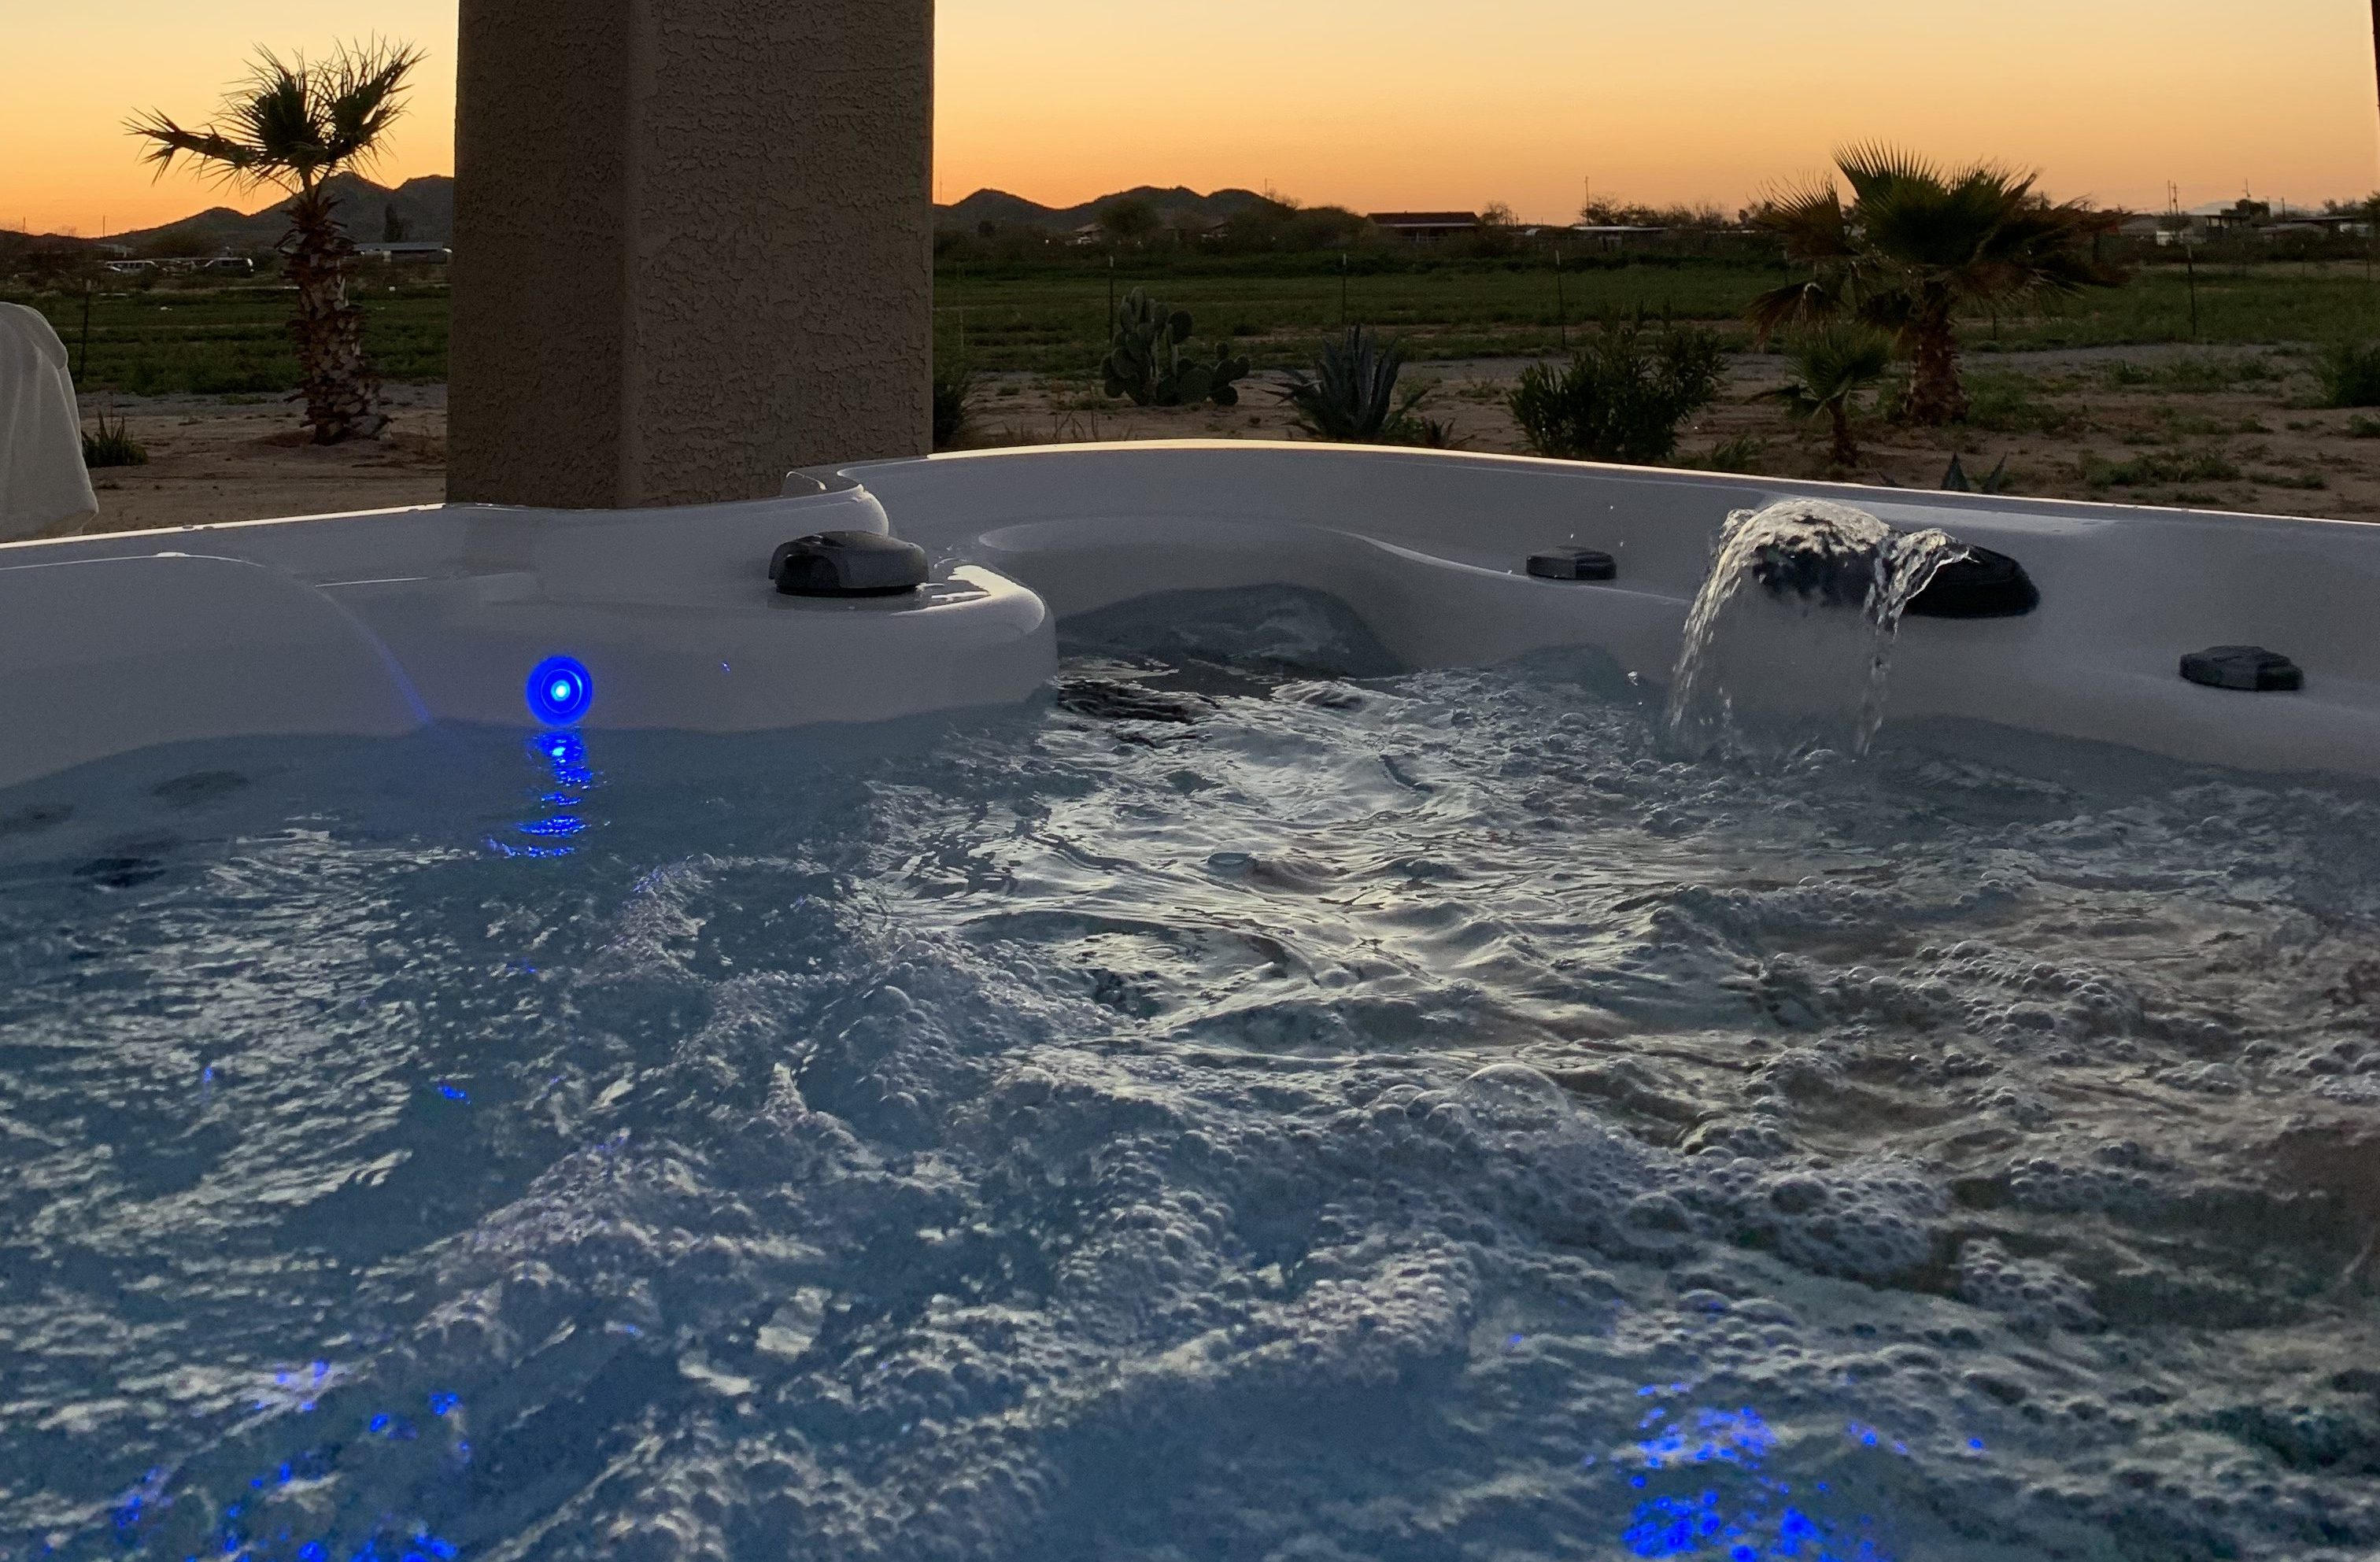
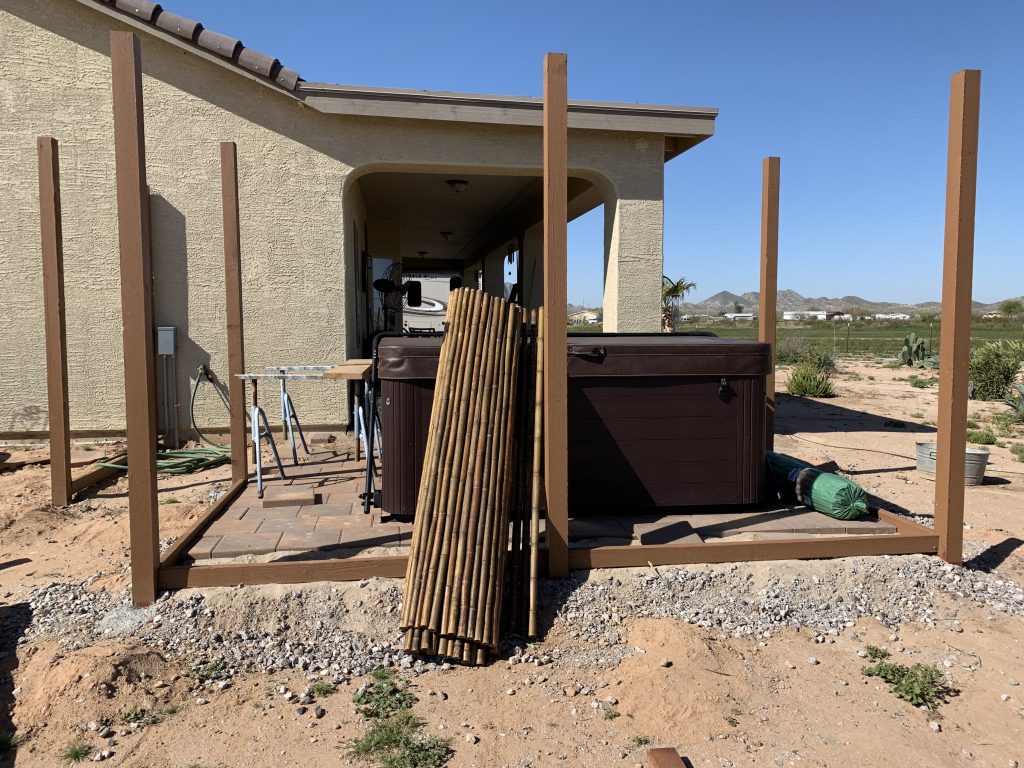
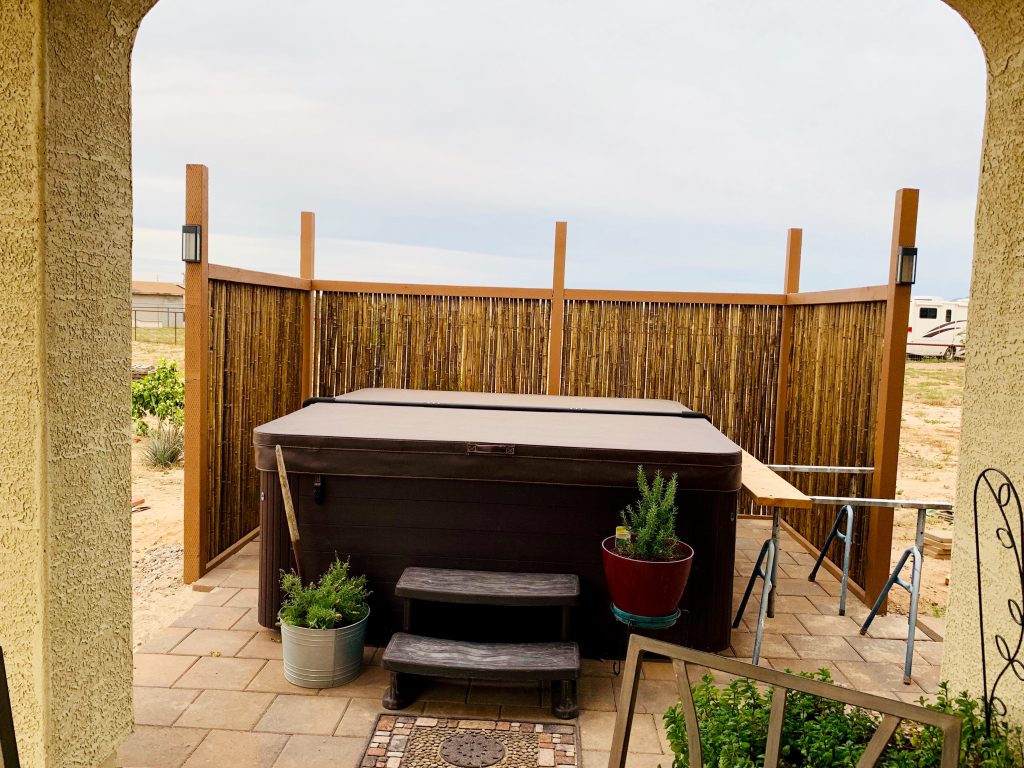
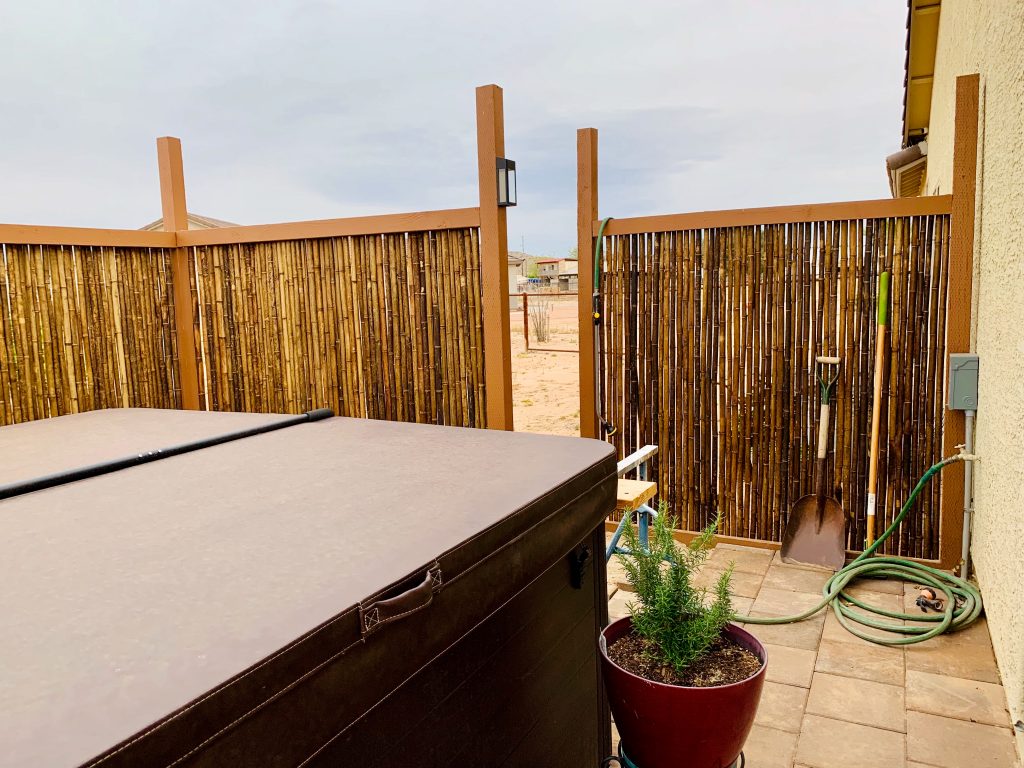
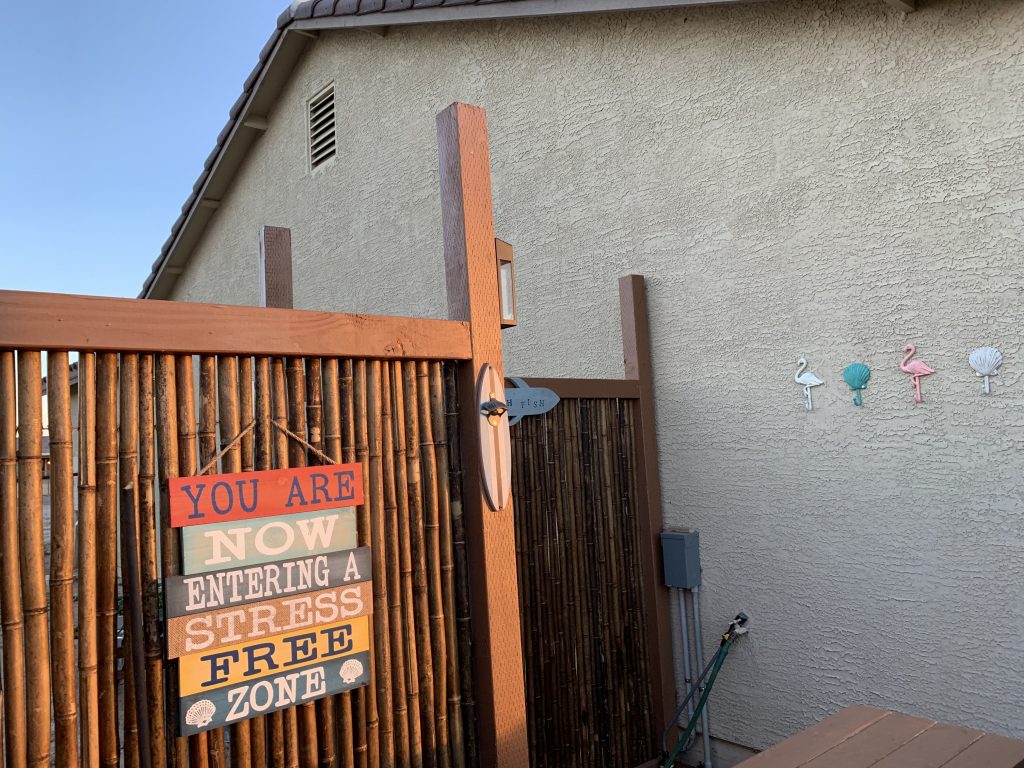
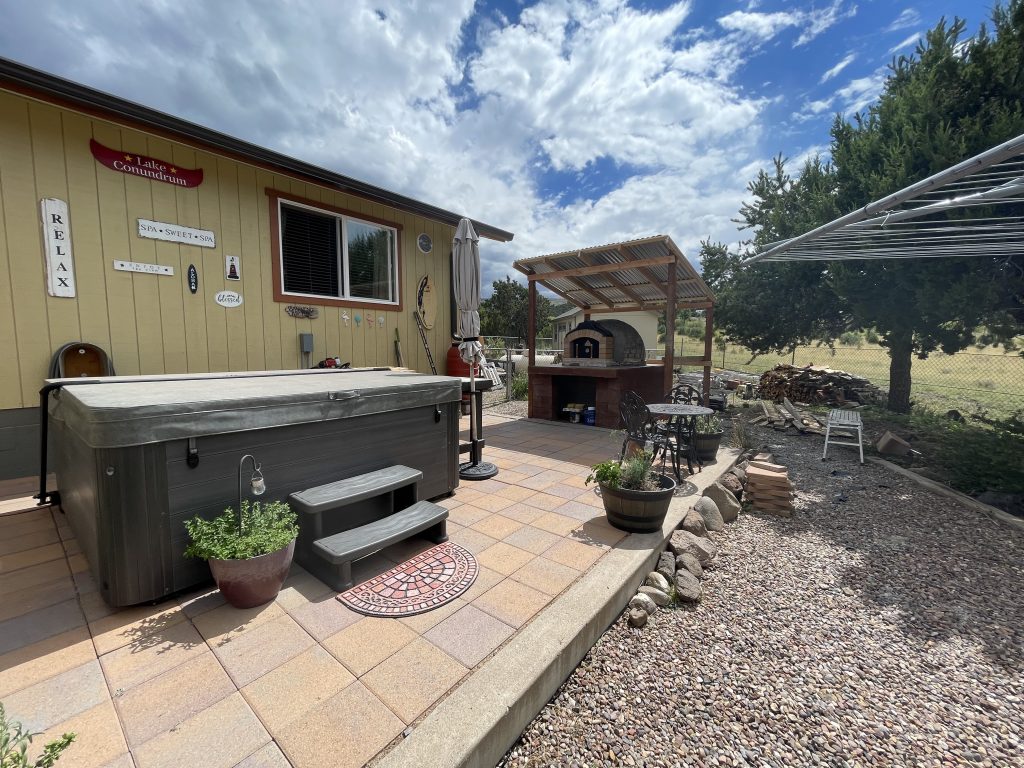
The process of building your own pizza oven is time consuming. If you prefer instant gratification, you may want to purchase a ready made metal one. We wanted one that looked authentic and we could use over and over again. We wanted to be able to see into the oven from our hot tub we installed in fall of 2022, creating a resort like atmosphere in our backyard.

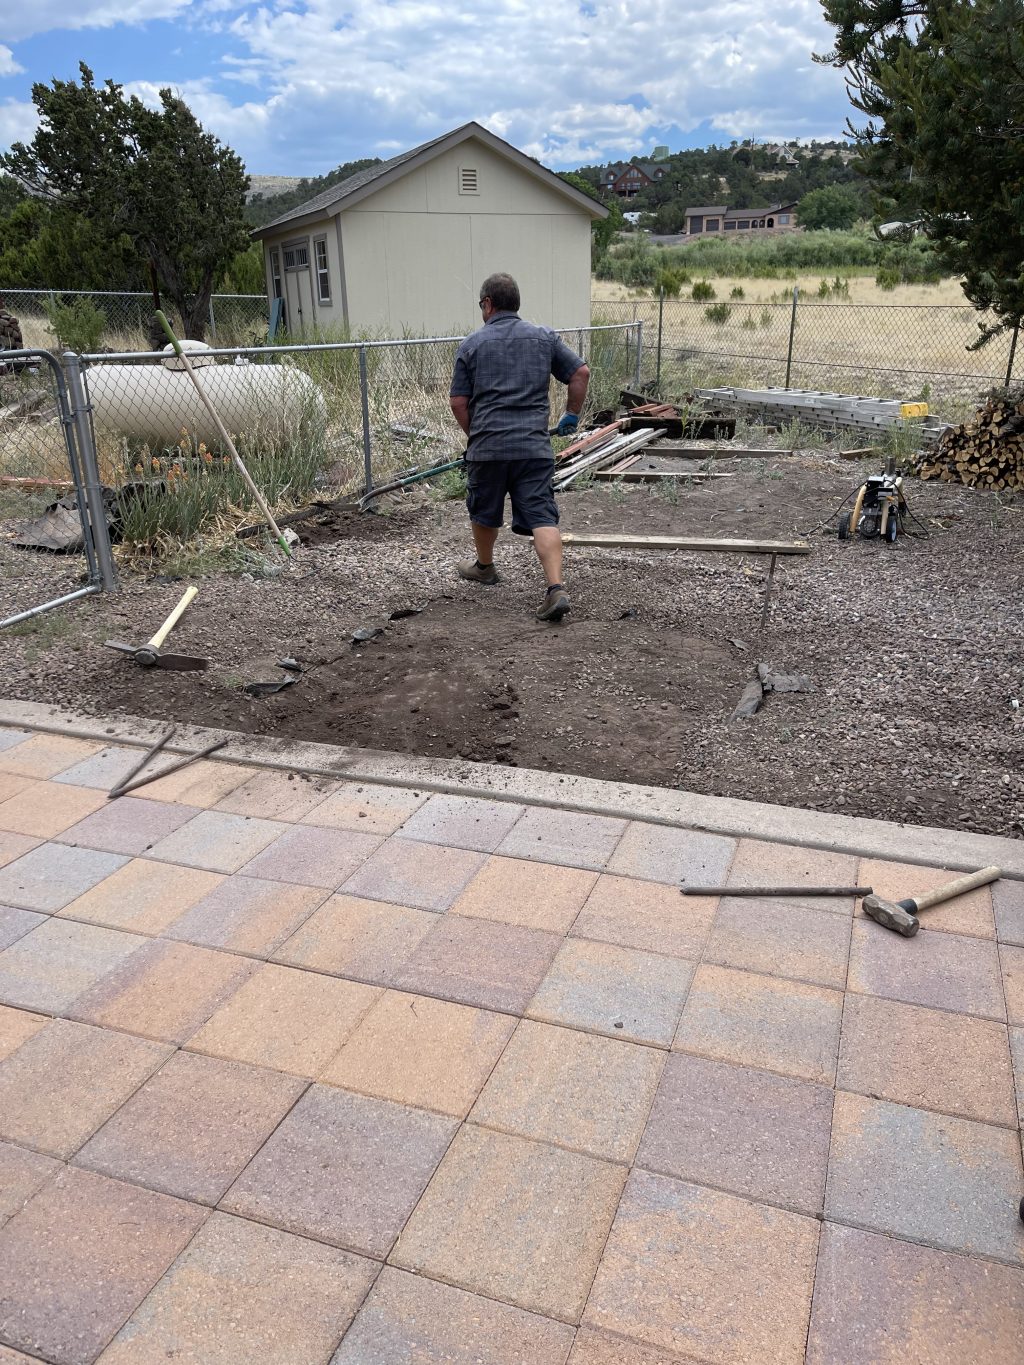
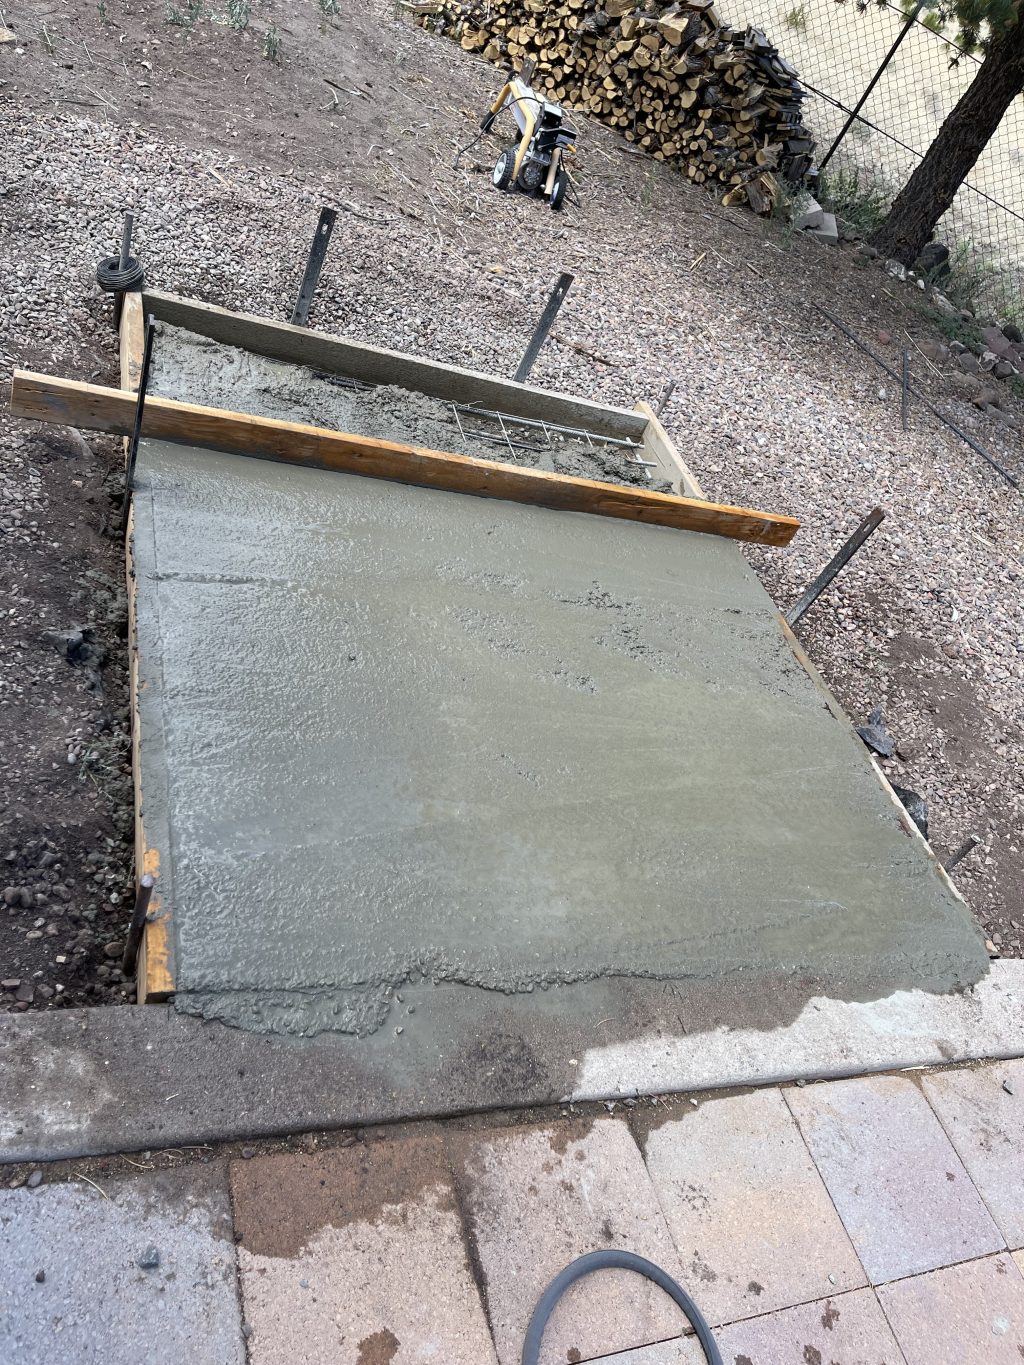
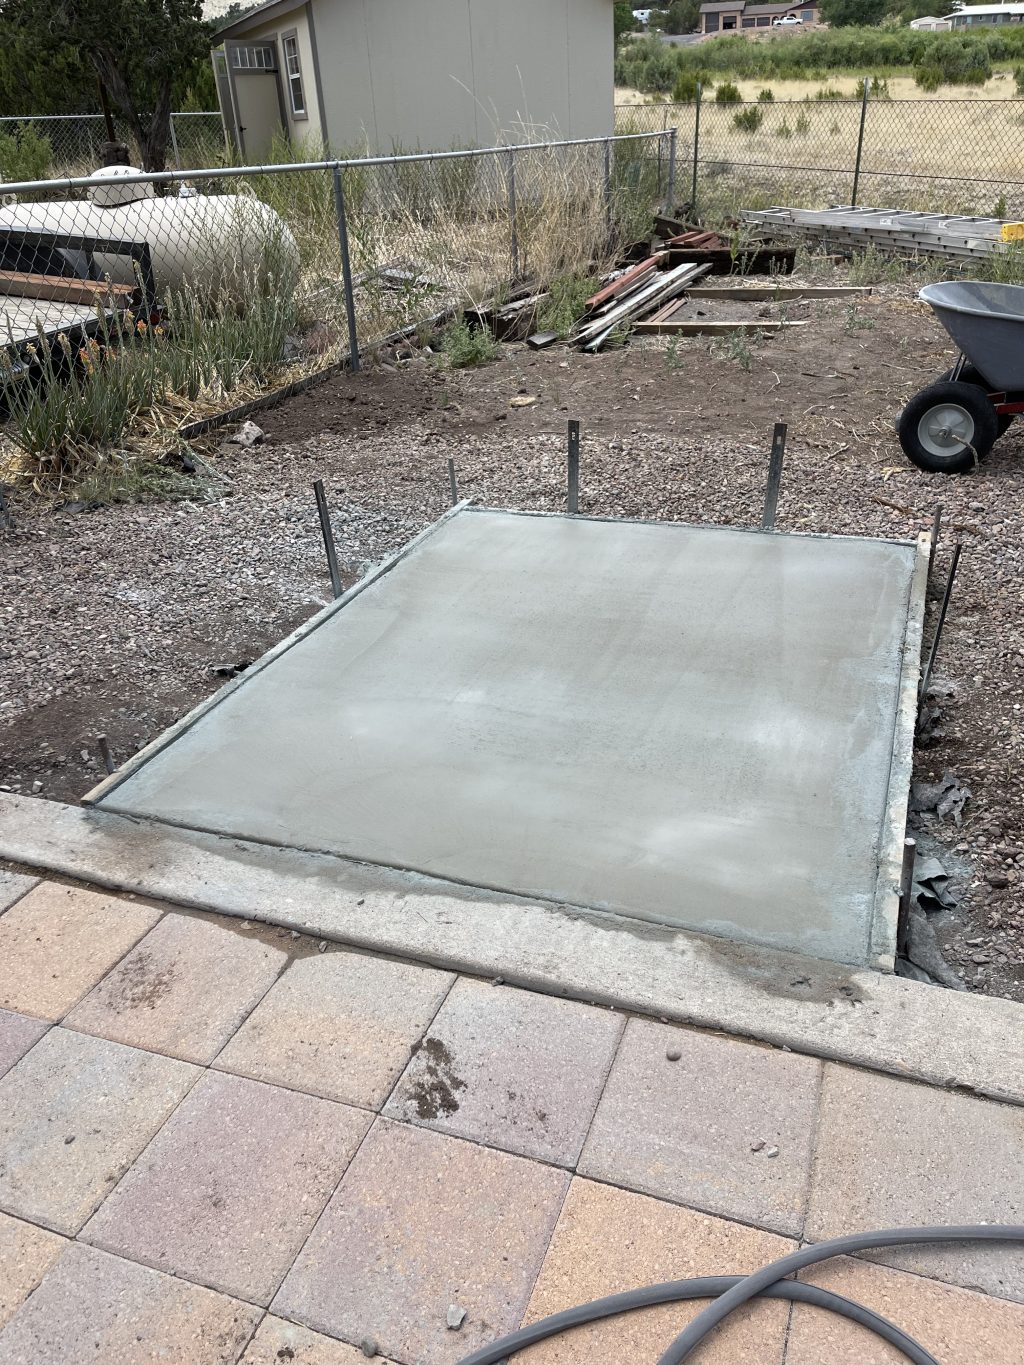
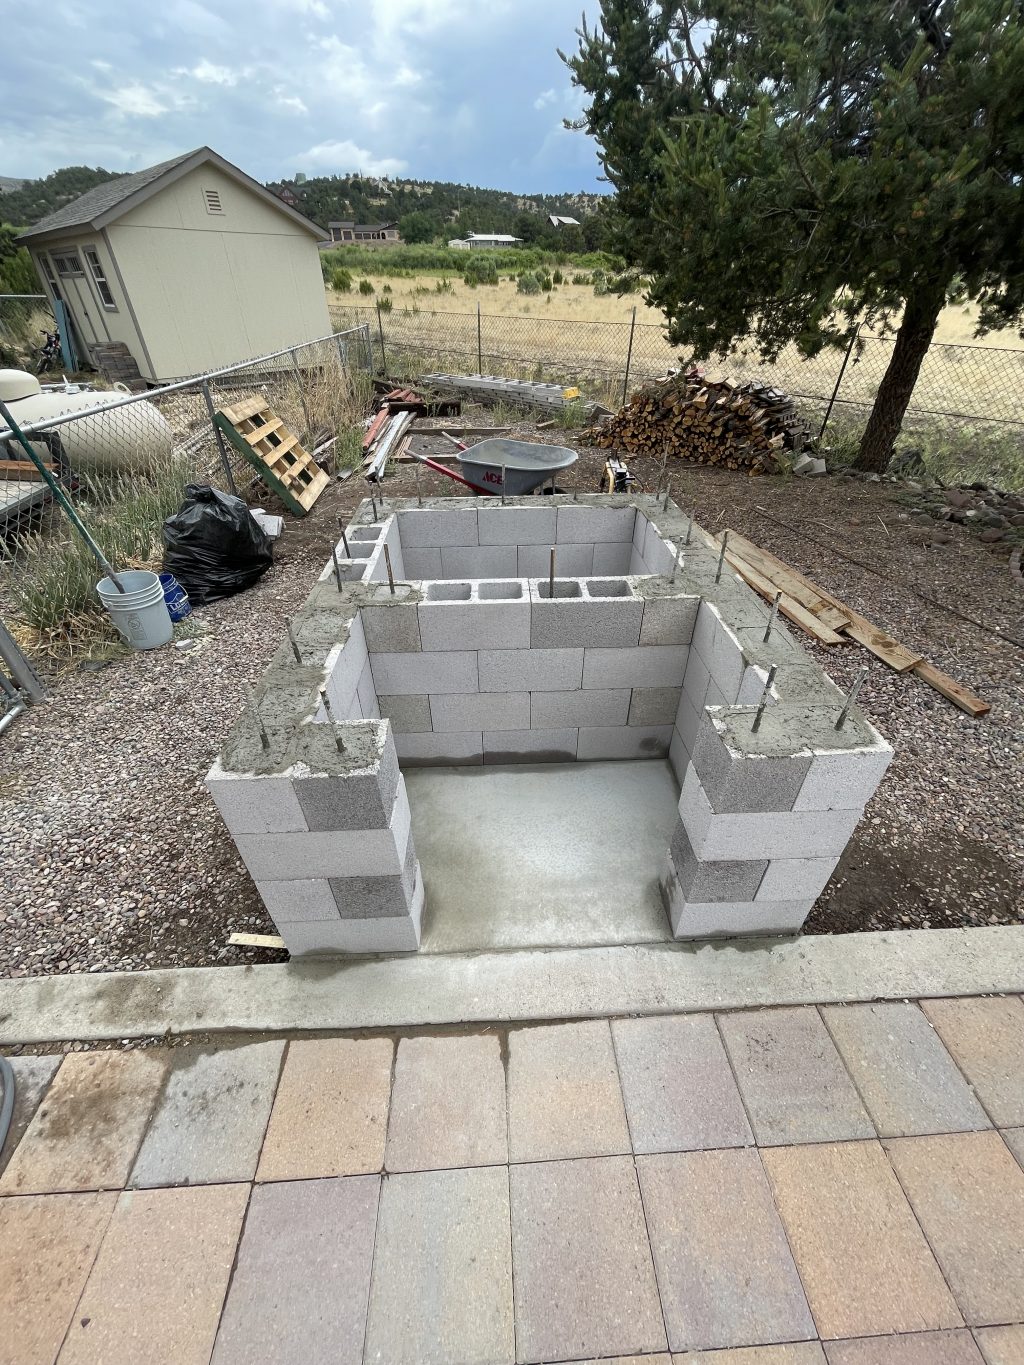
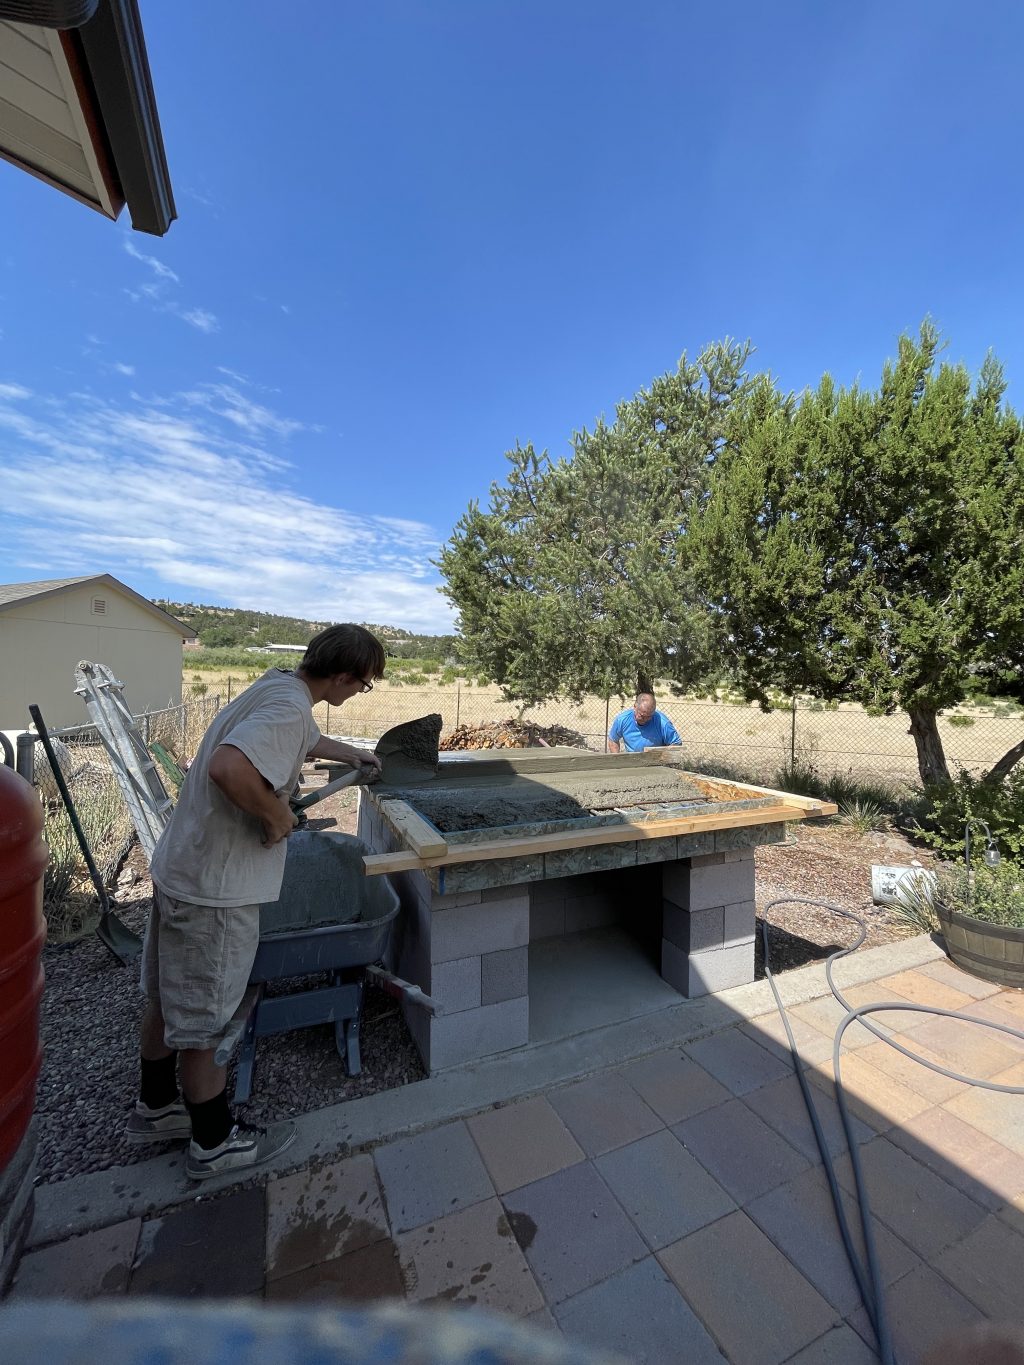
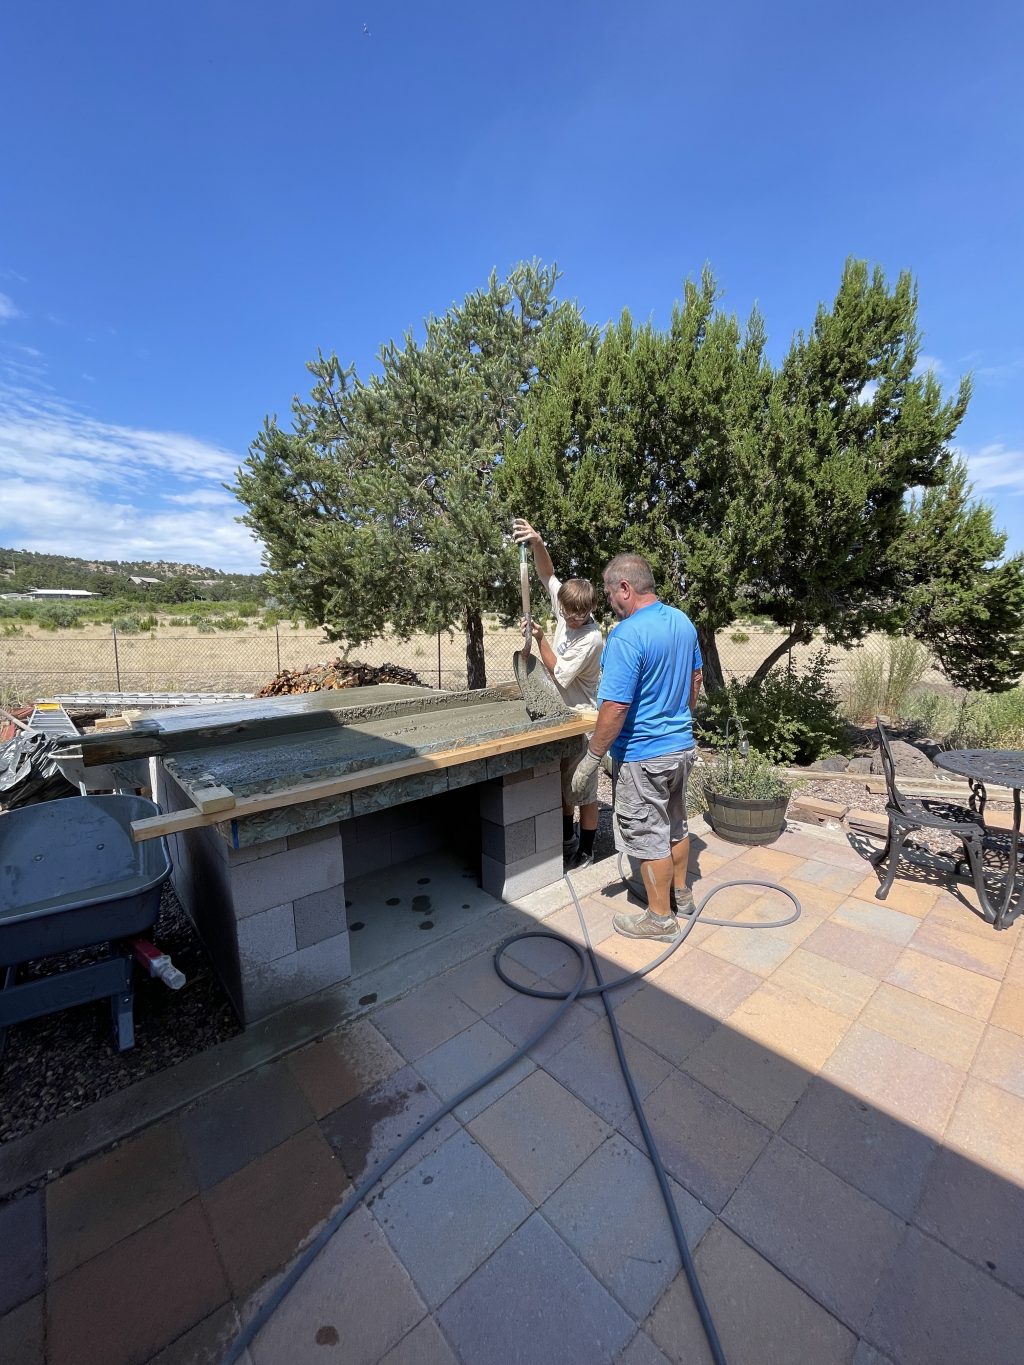
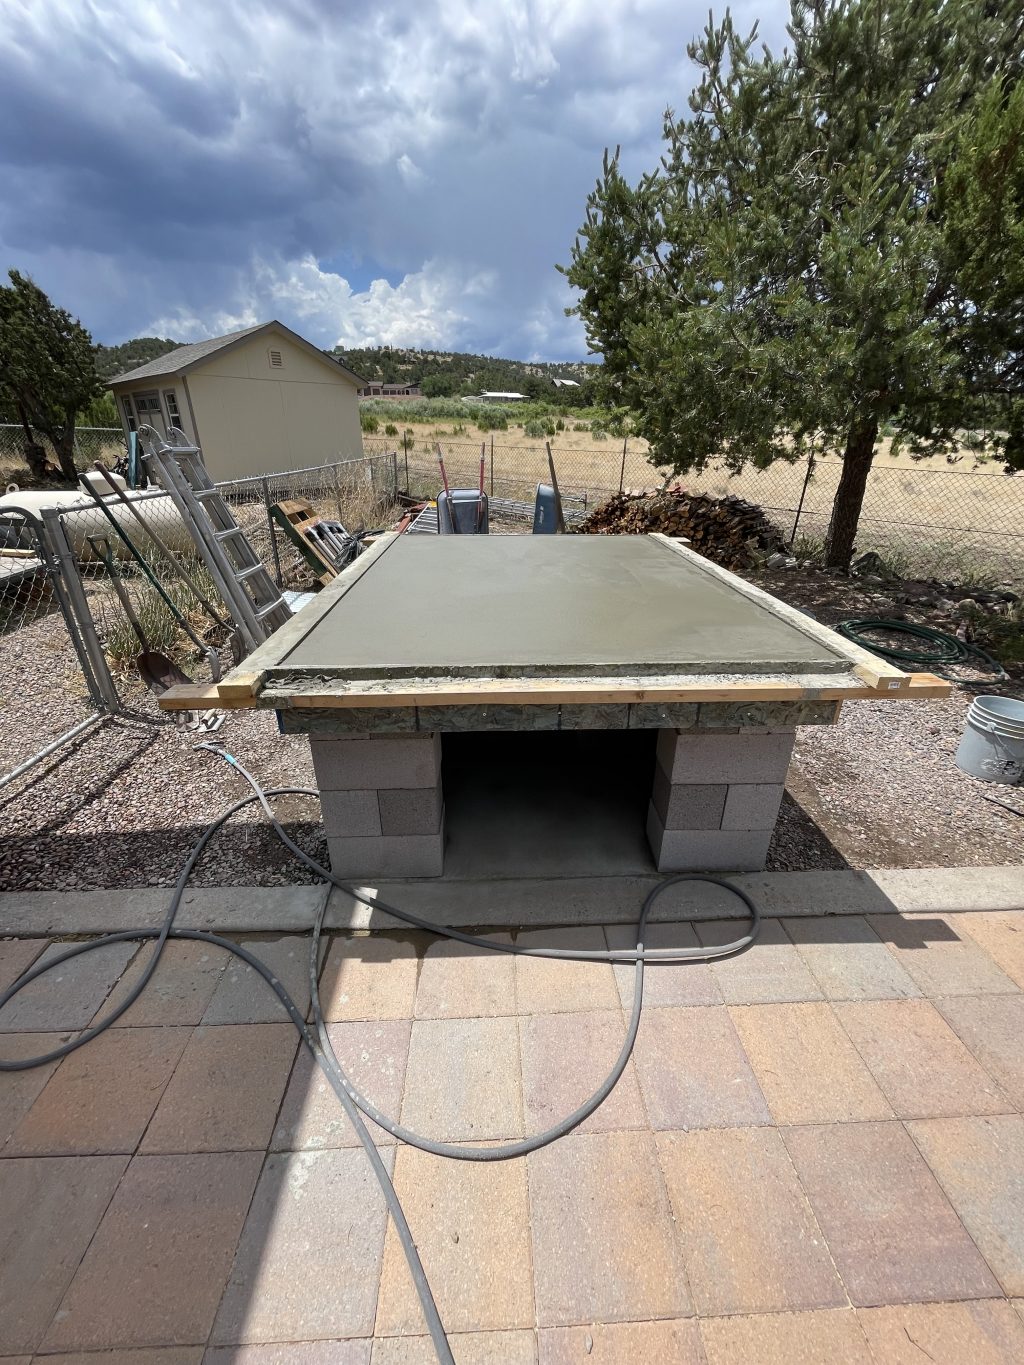
July, 2023: Foundation & Base

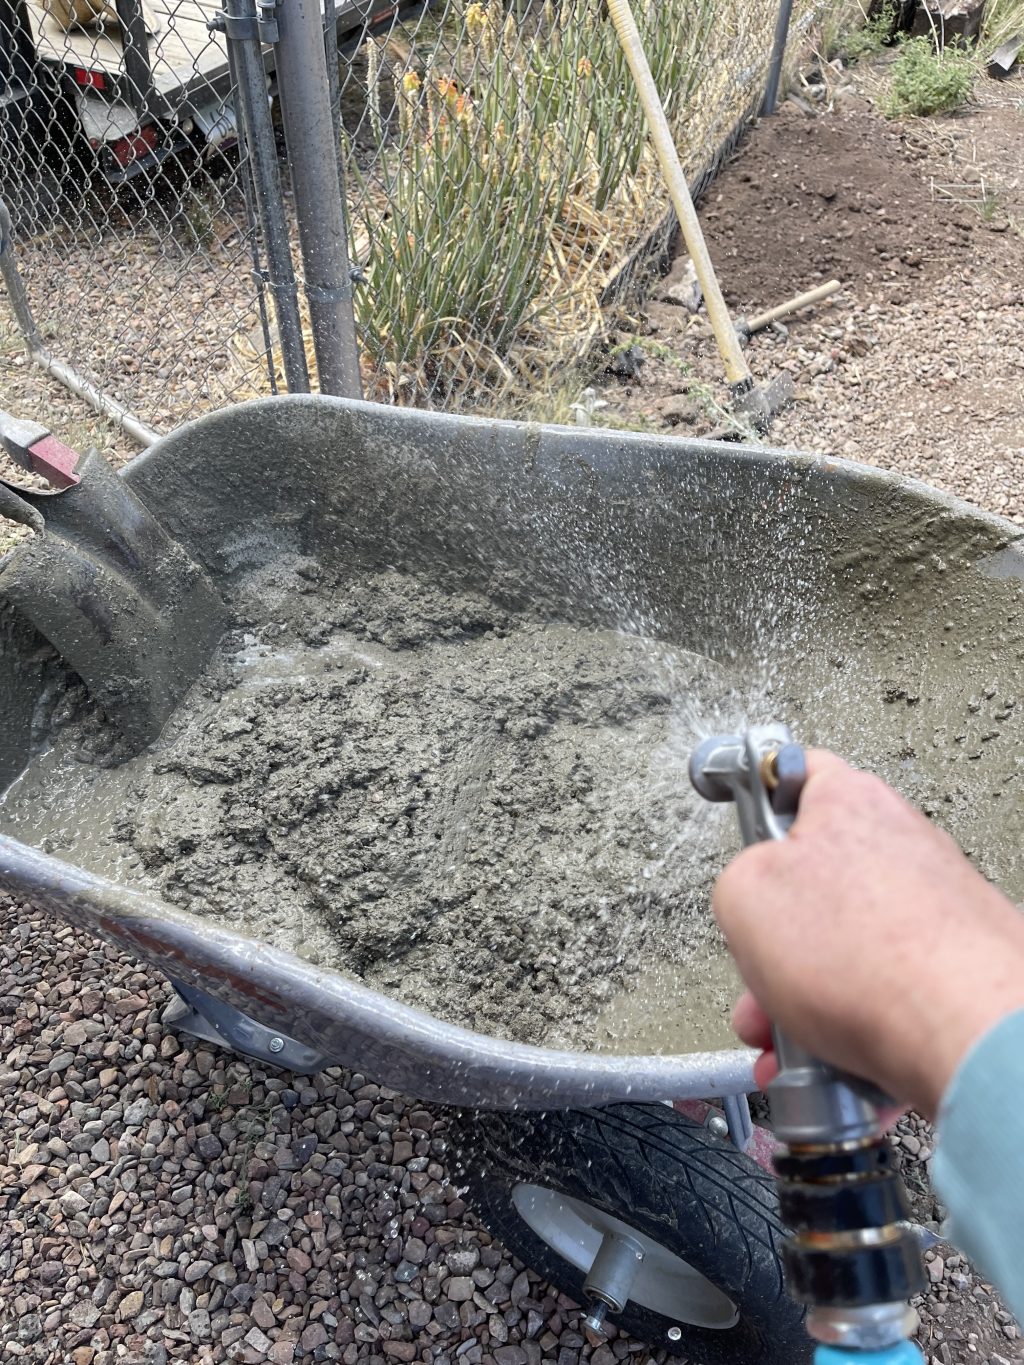
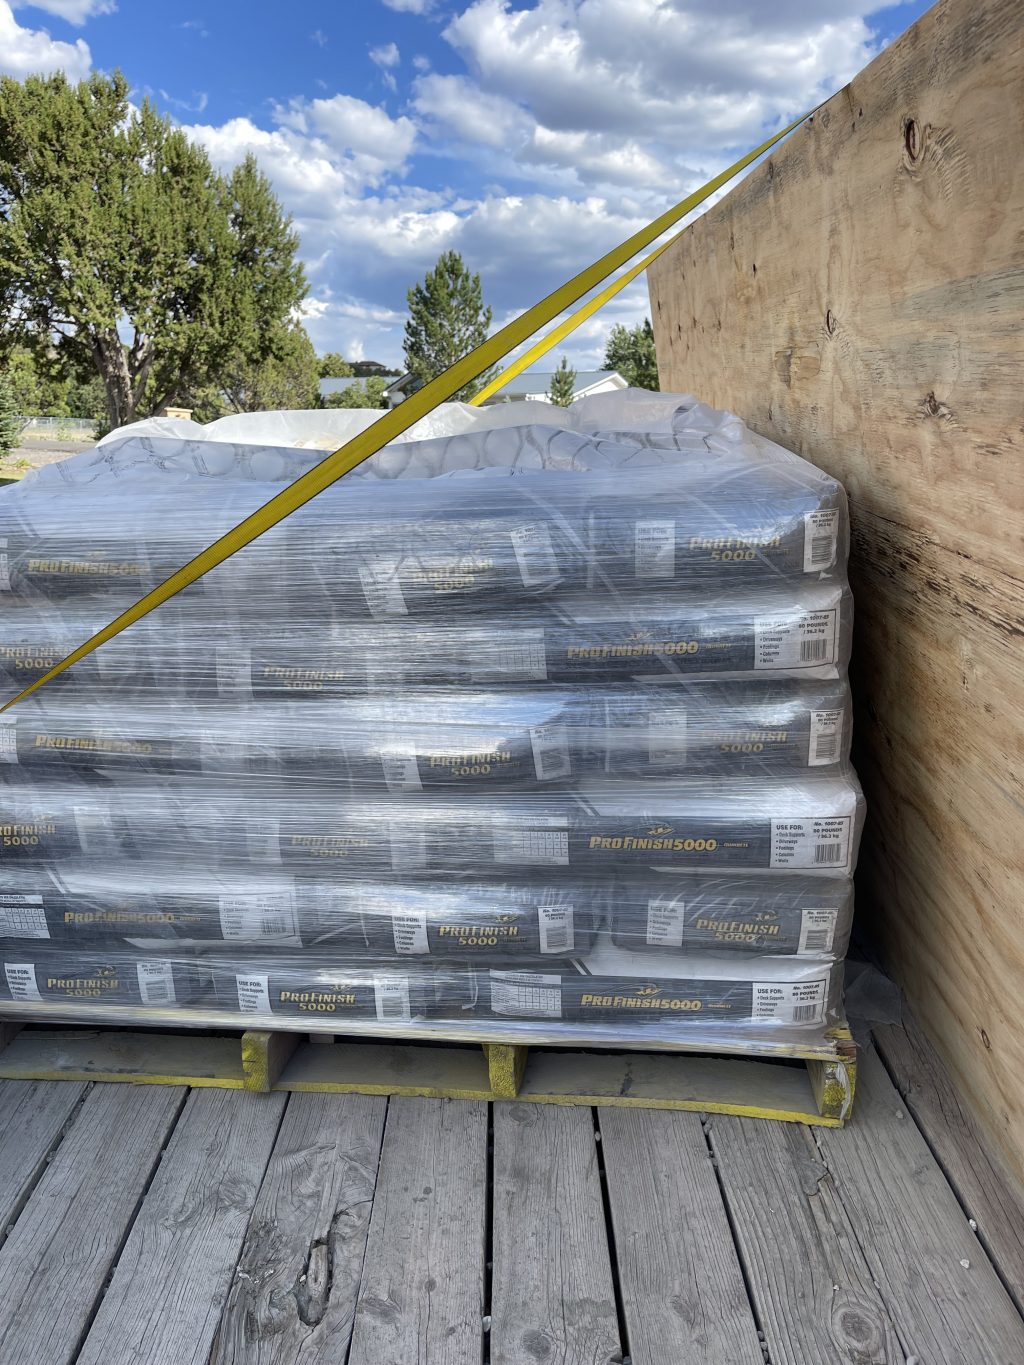
We started to build the oven in our backyard in July, 2023. After we decided on which company to buy from, the next decision was yard location. We wanted it located near our back patio. We had to prep the ground before the kit arrived. The process of building it required a lot of concrete and rebar.

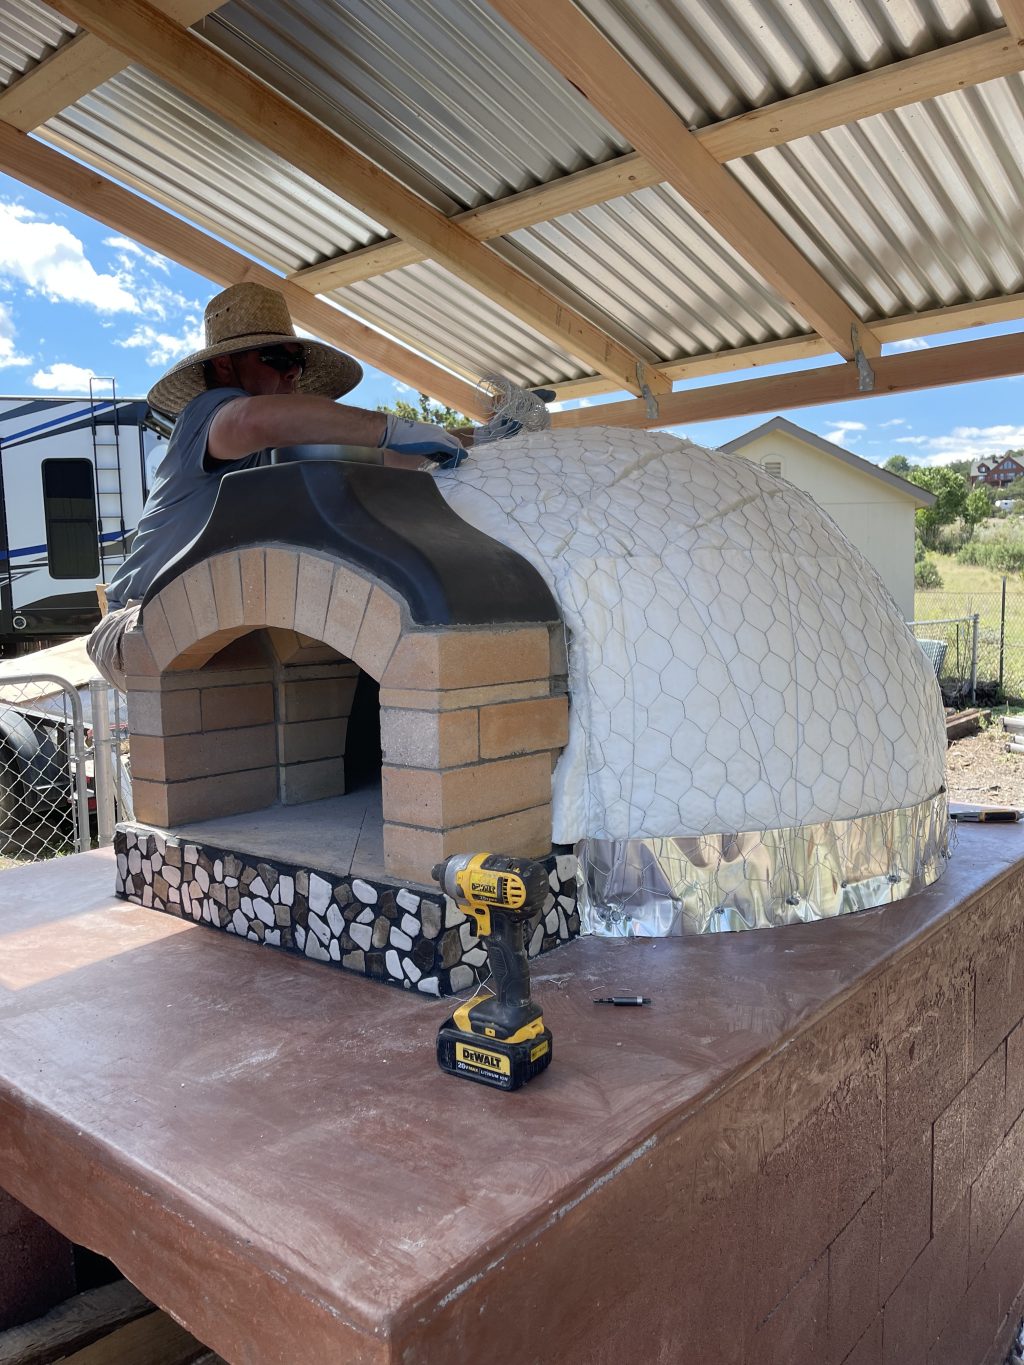
Point # 1: We recommend you have construction skills (or a friend with construction skills) to built a DIY wood fired pizza oven.

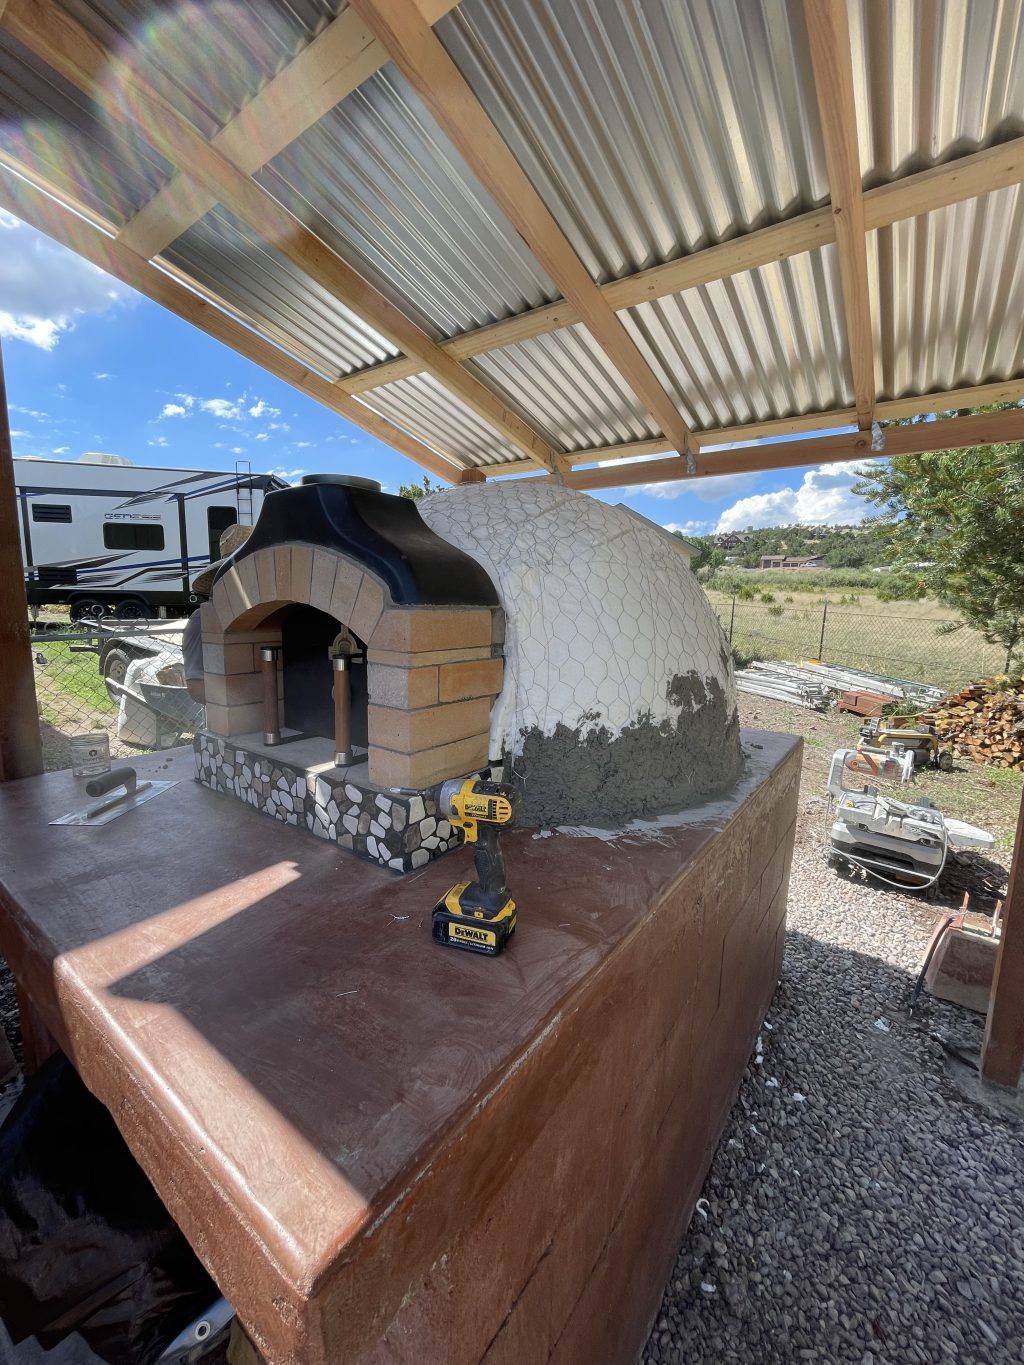
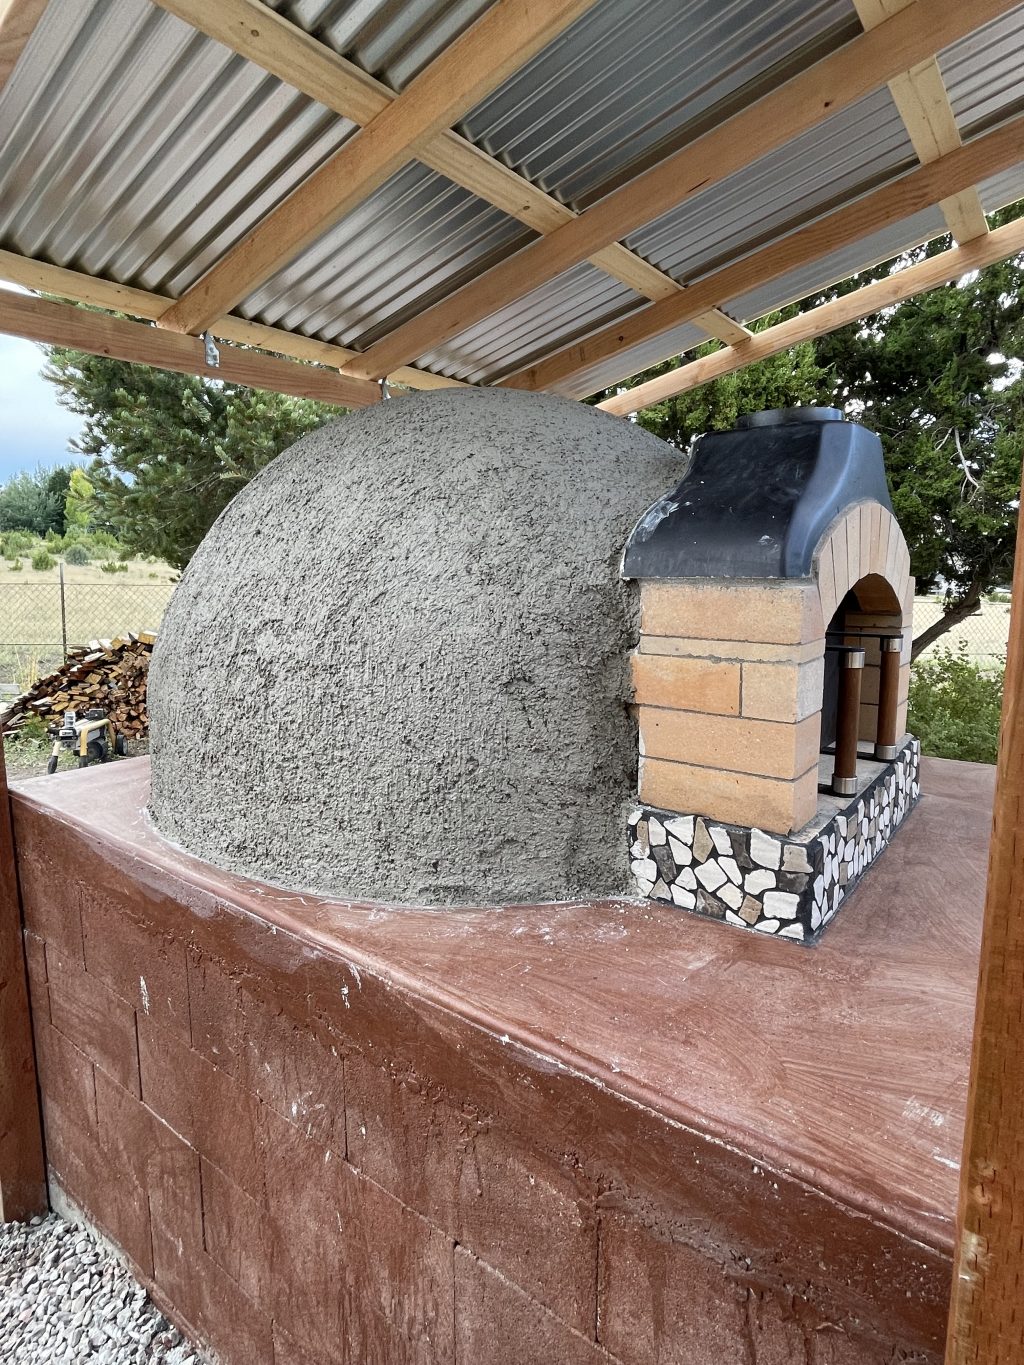
August, 2023: The Dome

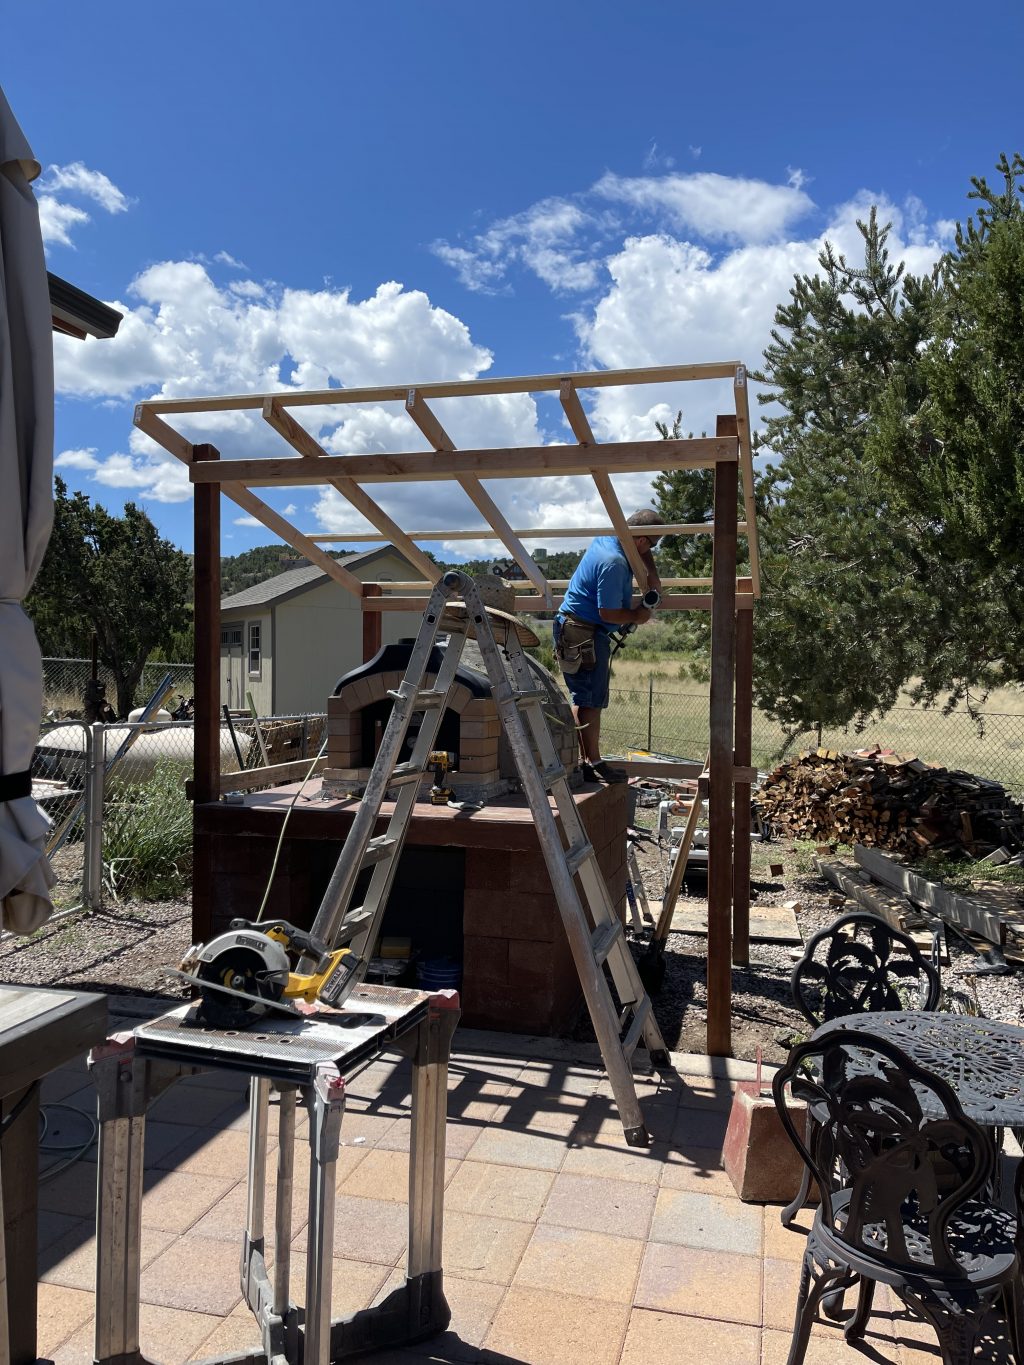
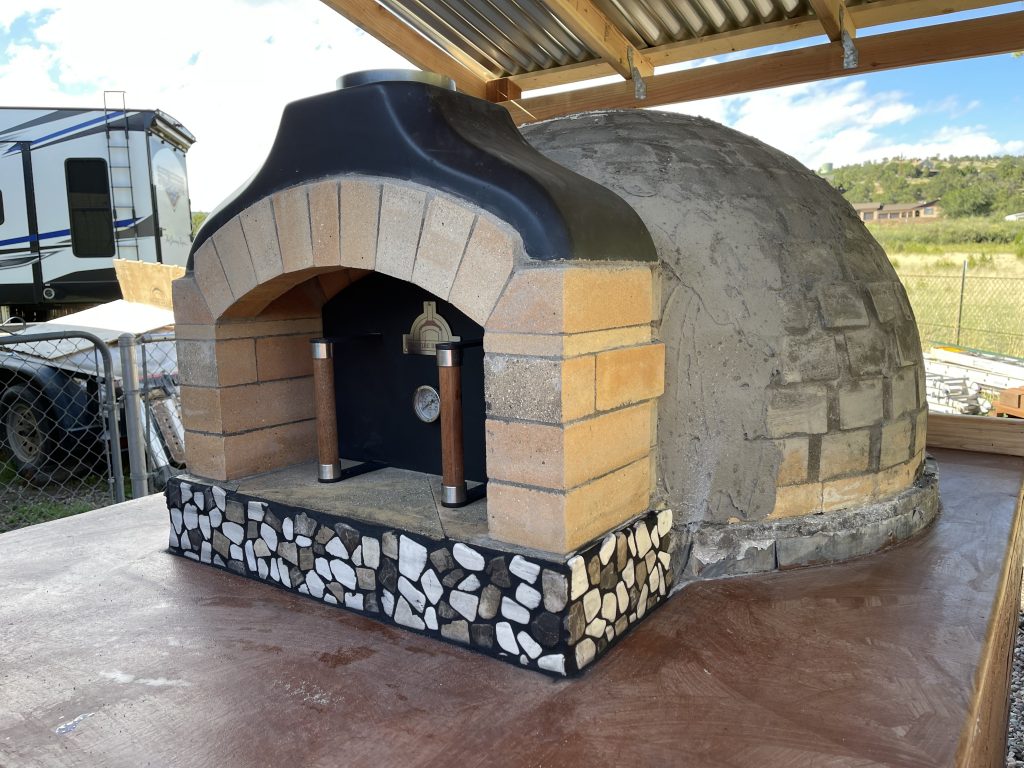
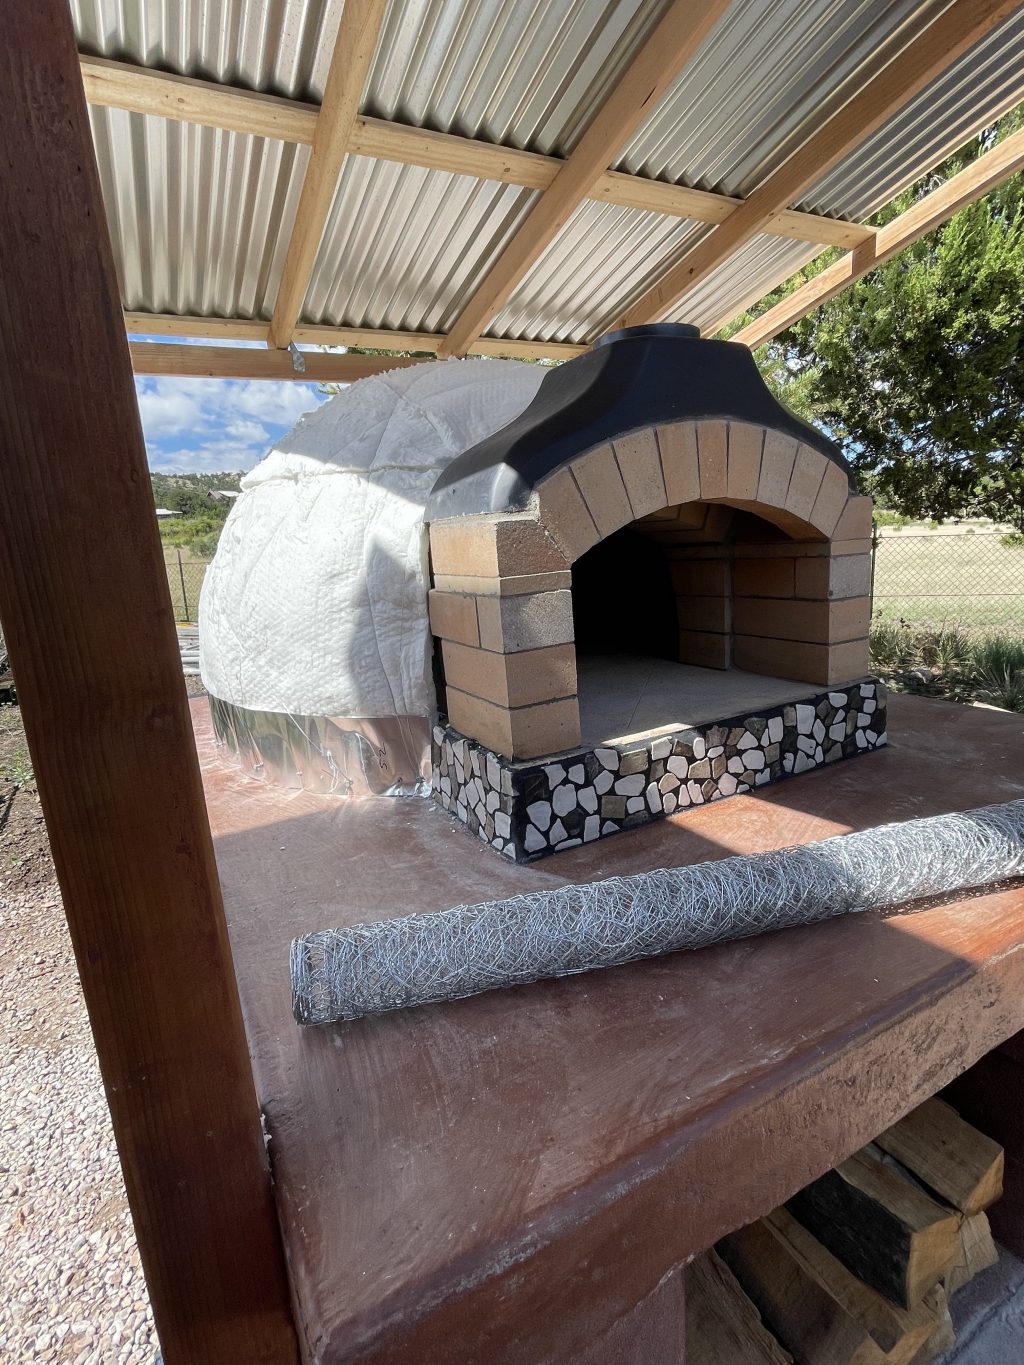
It’s been over 1 month into this project. It took 2 weeks to complete the brick dome. Then we had to build a cover over it to protect it from the elements so it would not crack. That took 1 day.

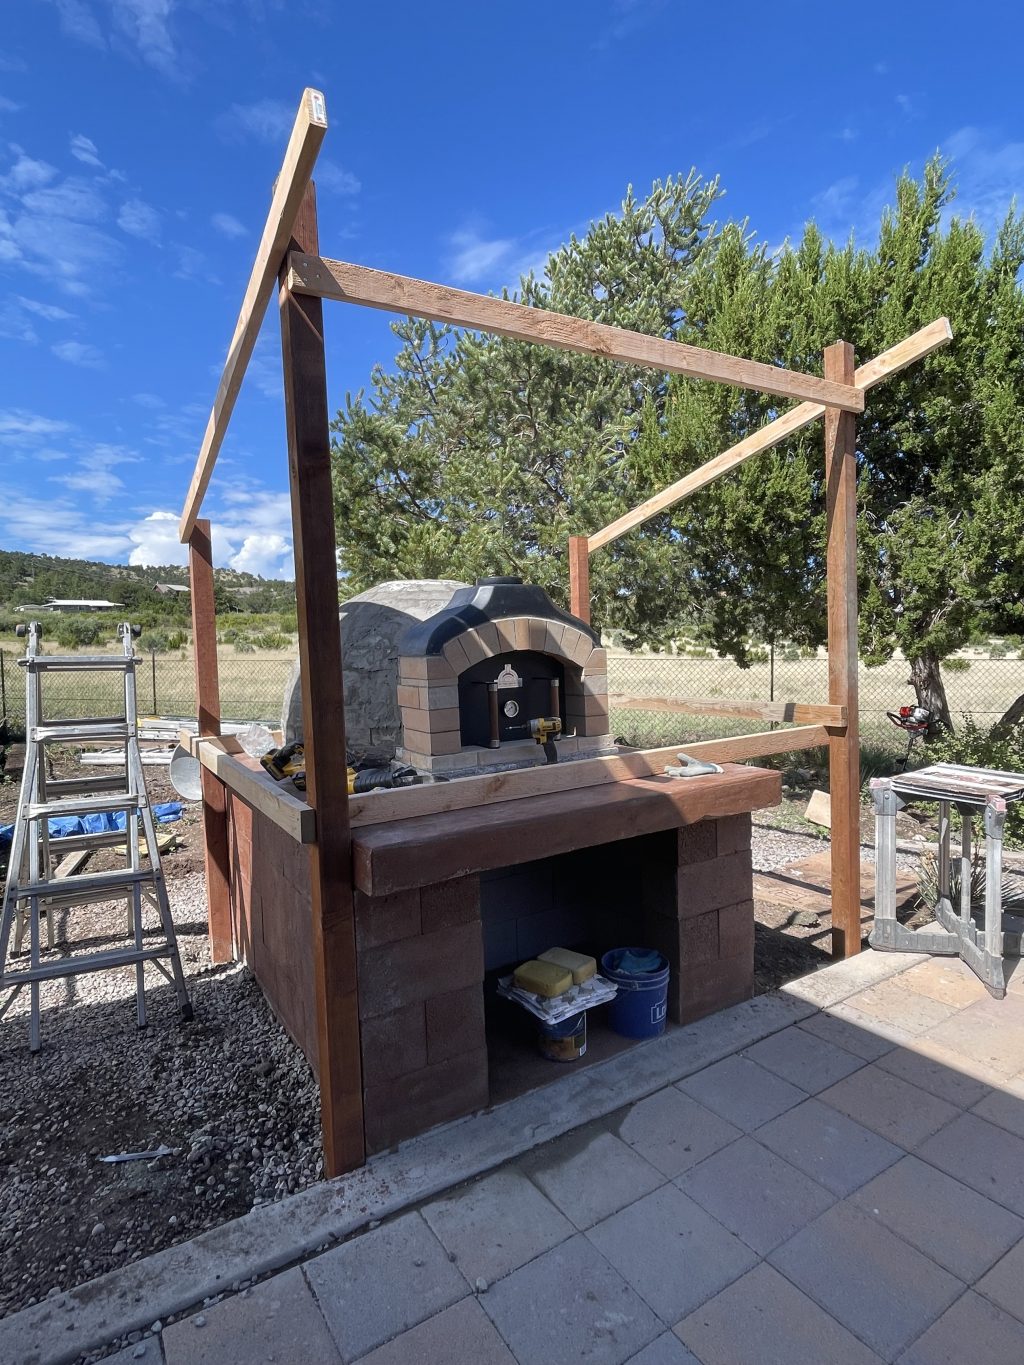
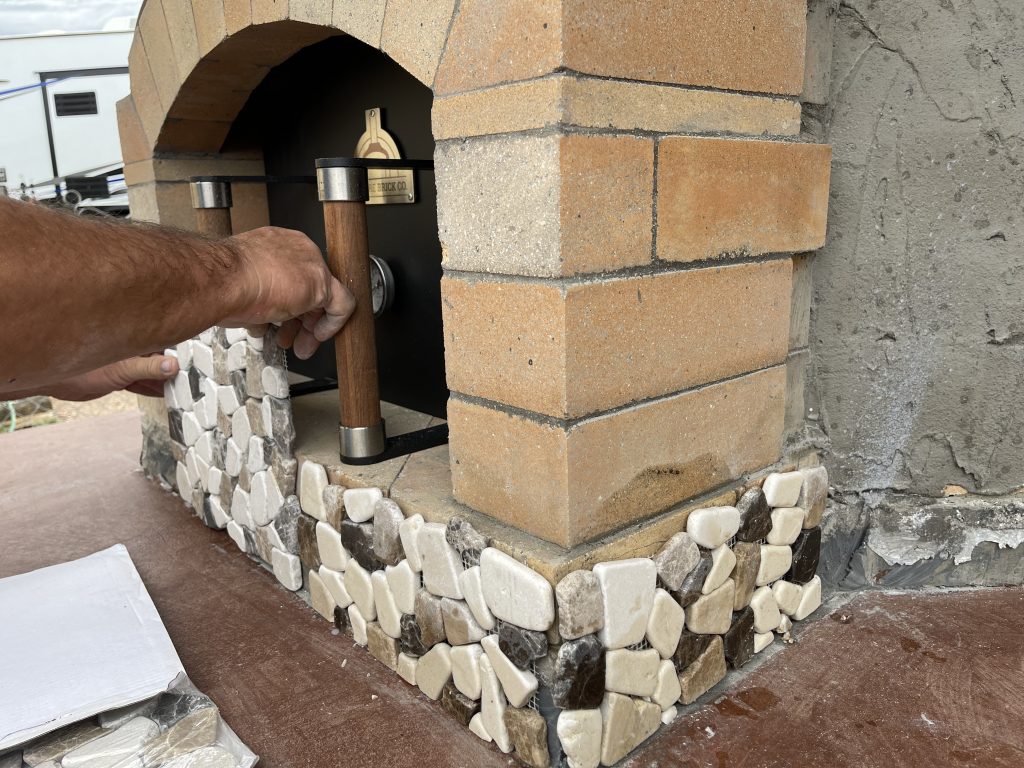
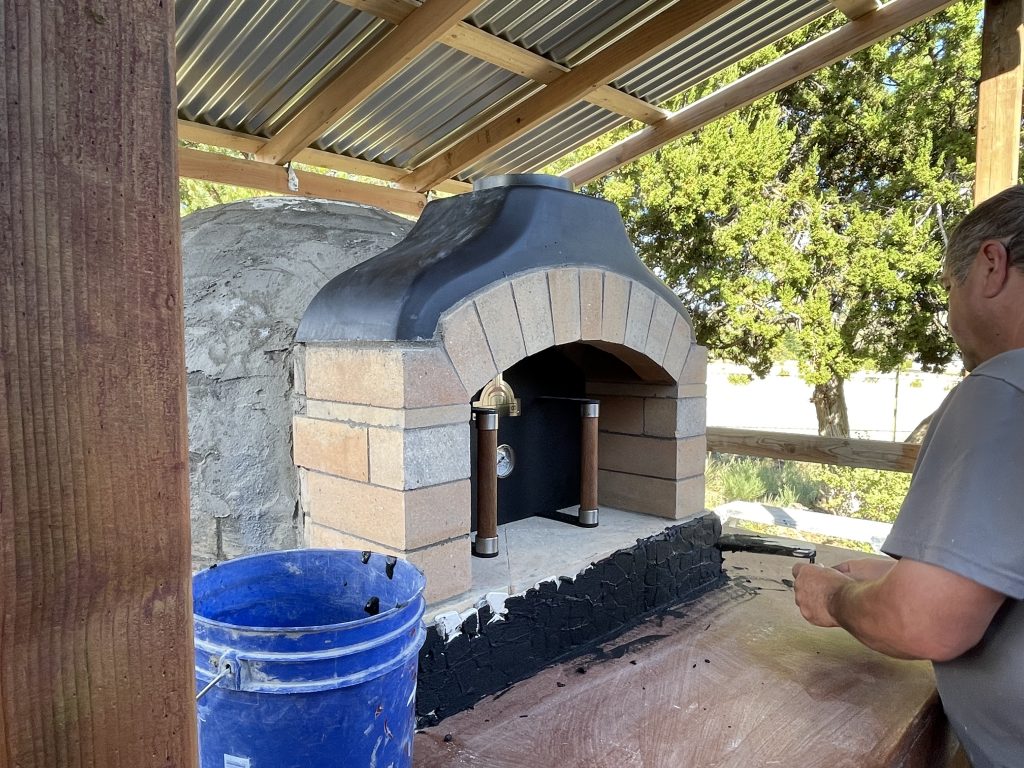
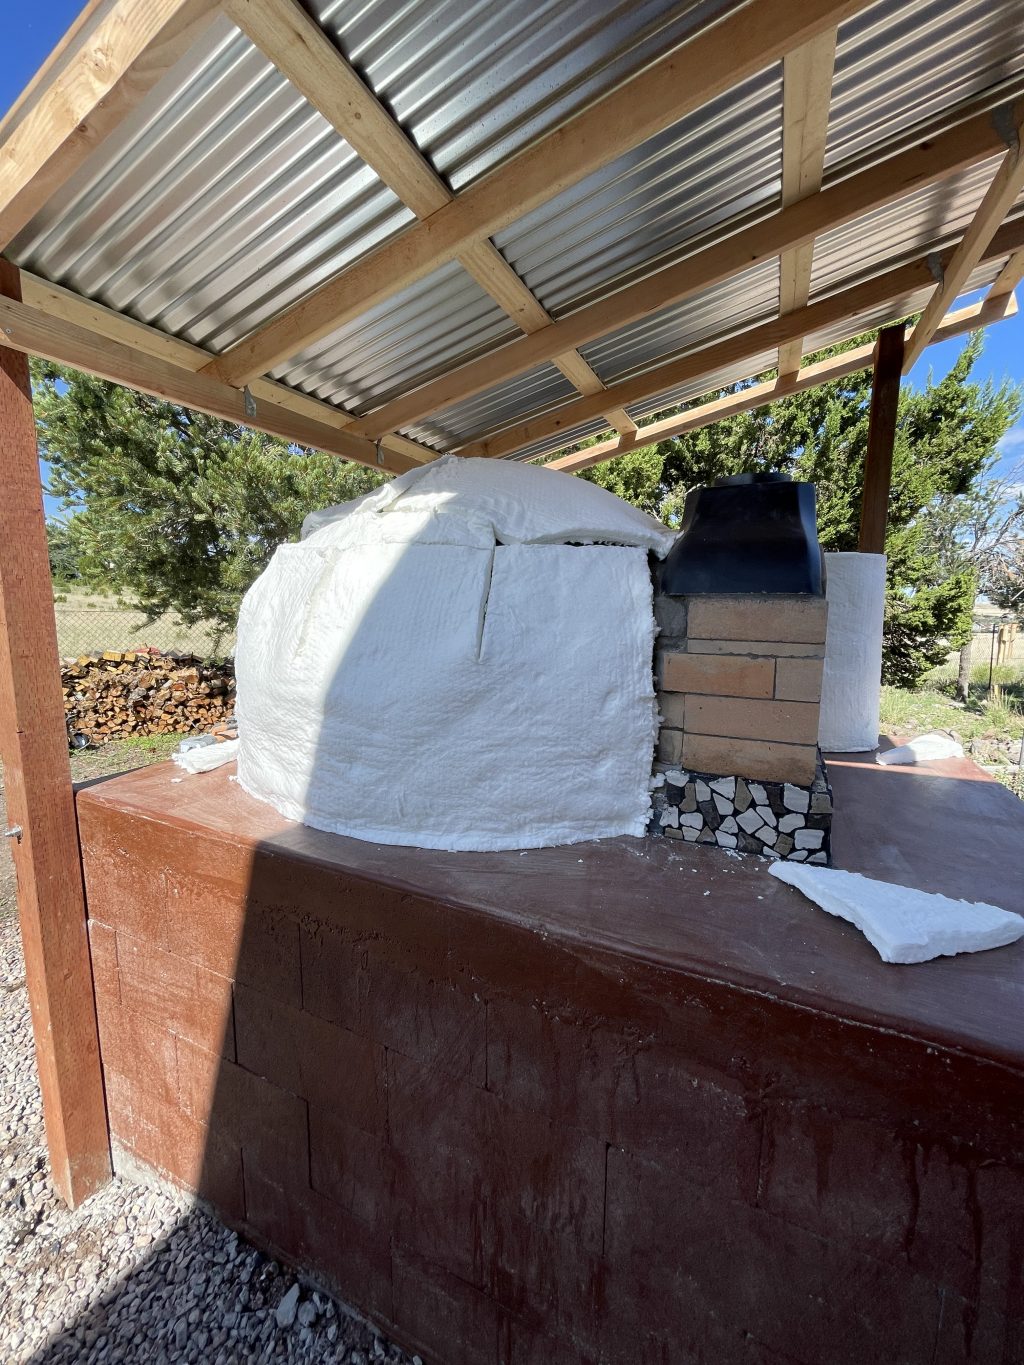
Once the cover was done, the next steps were putting the insulation over the dome, finishing the front edge, and attaching the chimney so we could test the oven. That took 12 days.

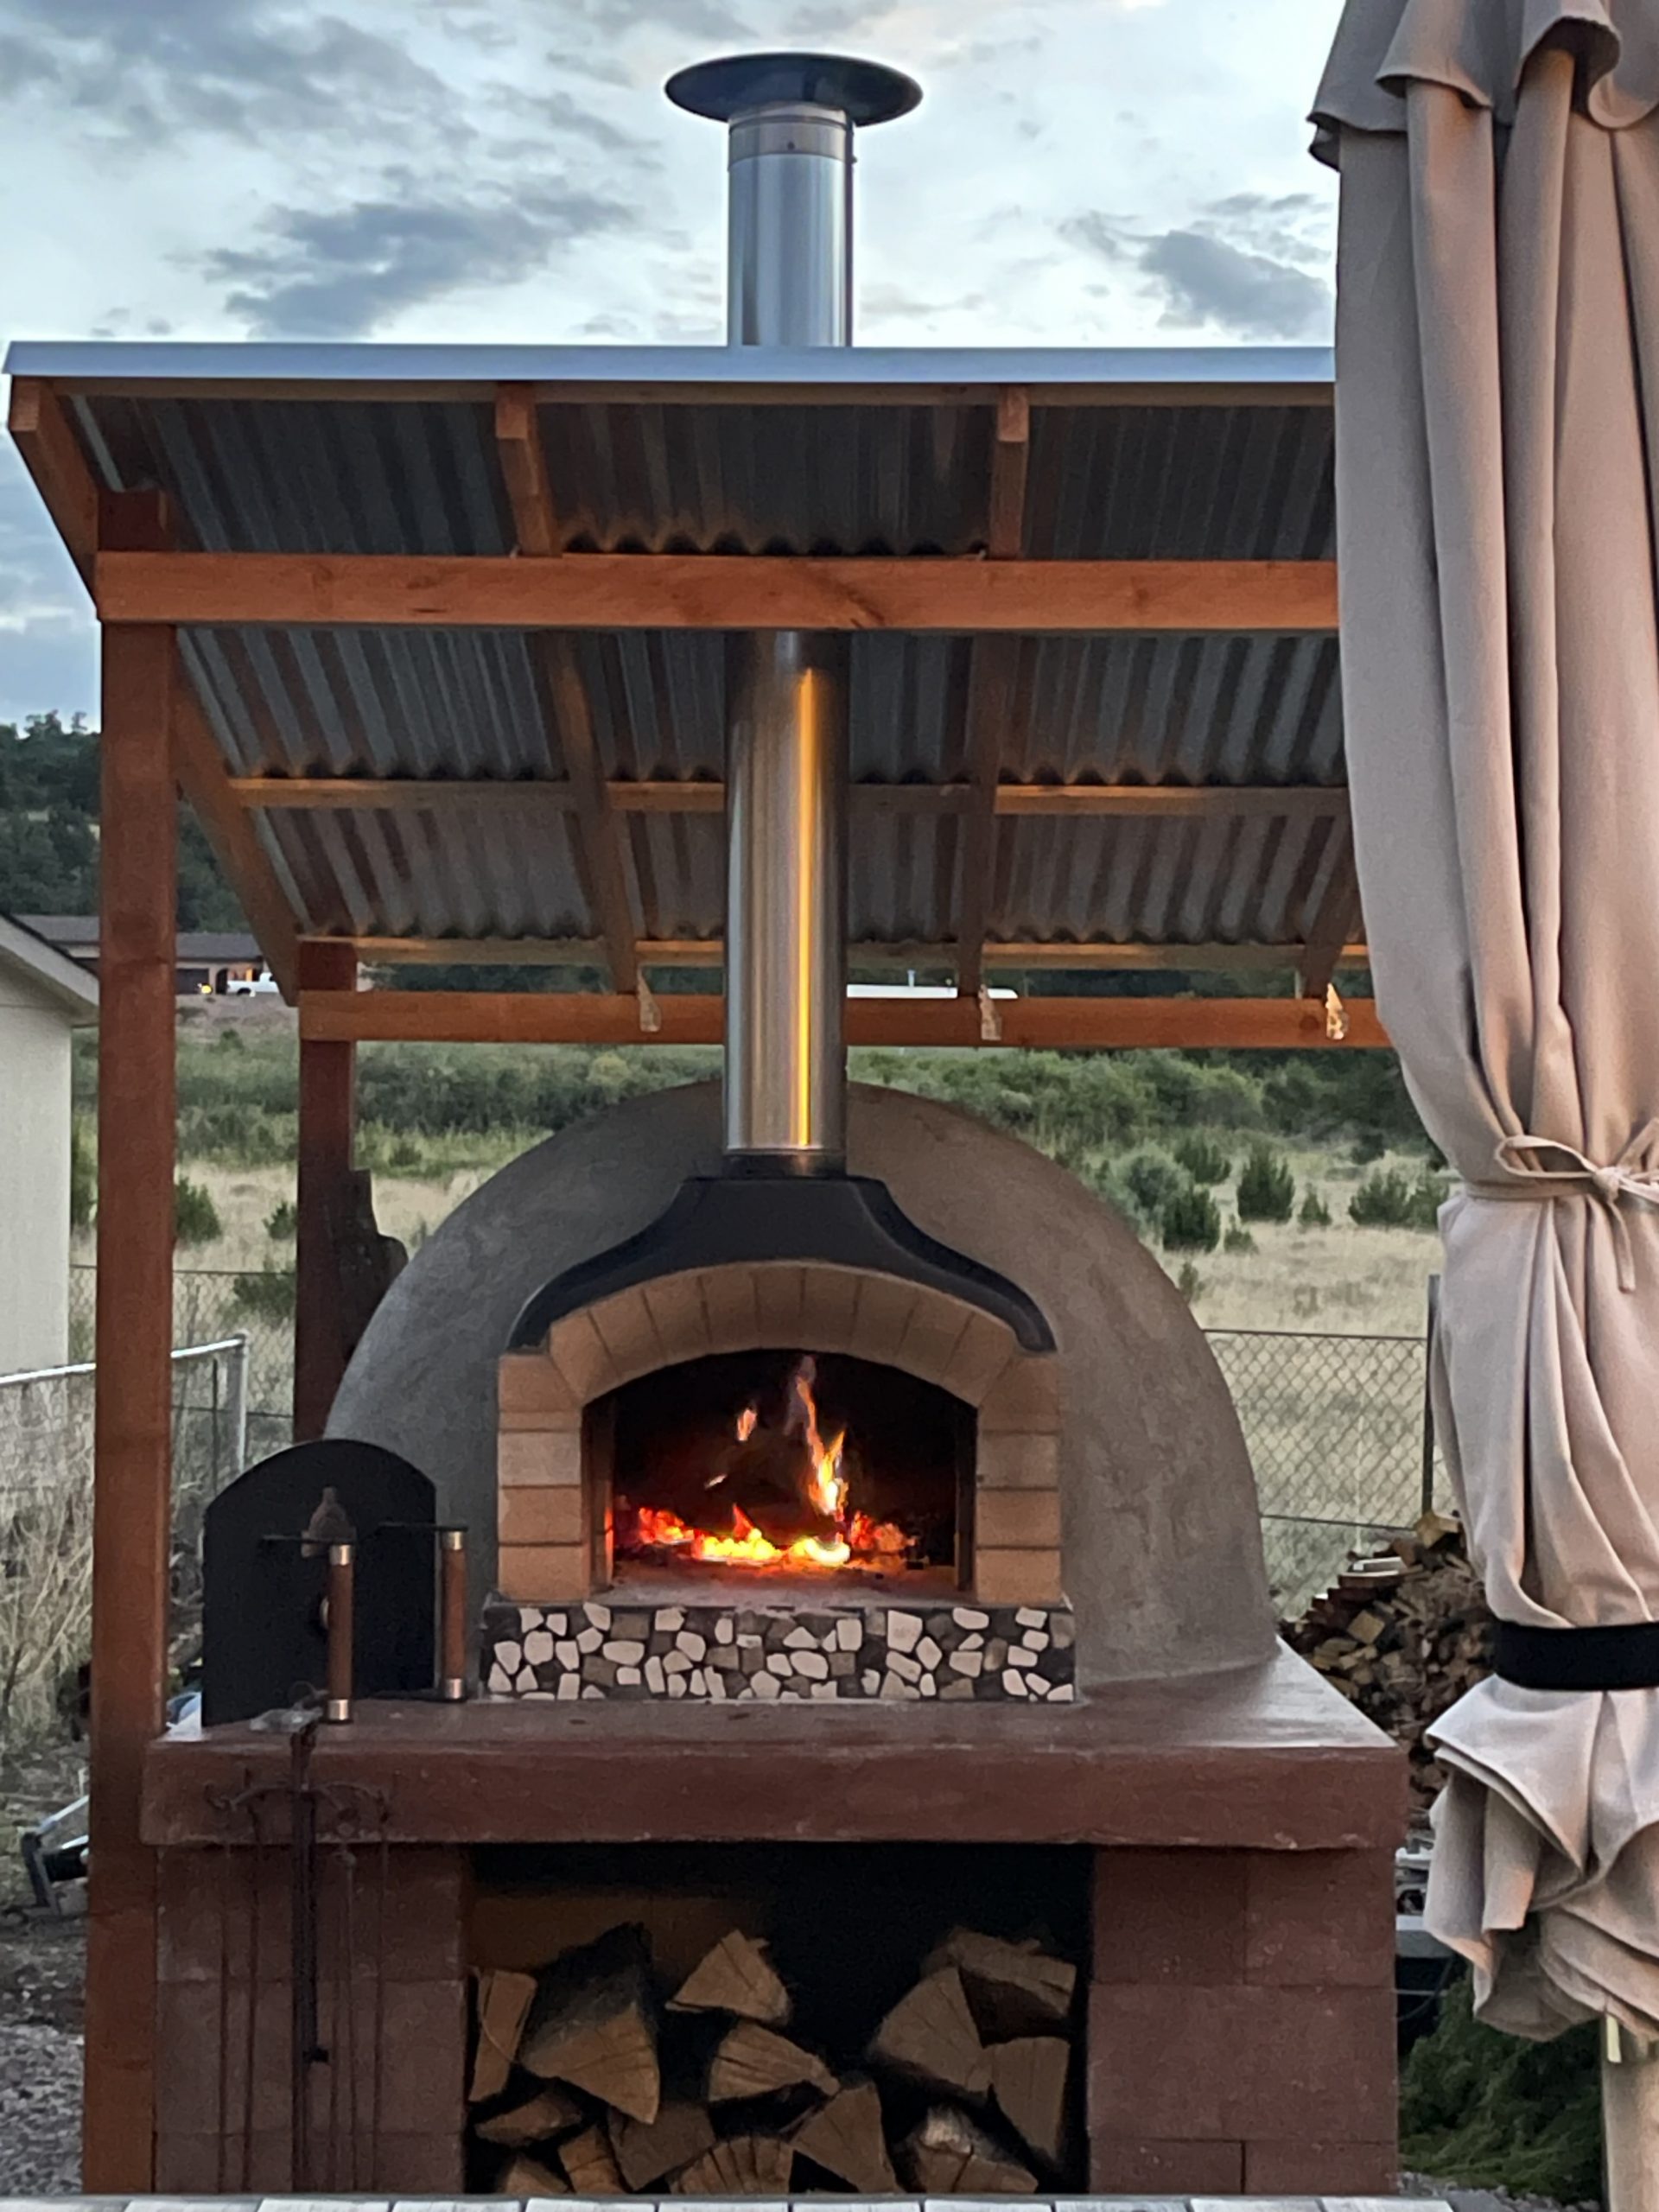
September, 2023: First Fire

A little over 2 months into this project we were able to build 4 major firings in our oven AFTER allowing proper curing time as per the instructions.

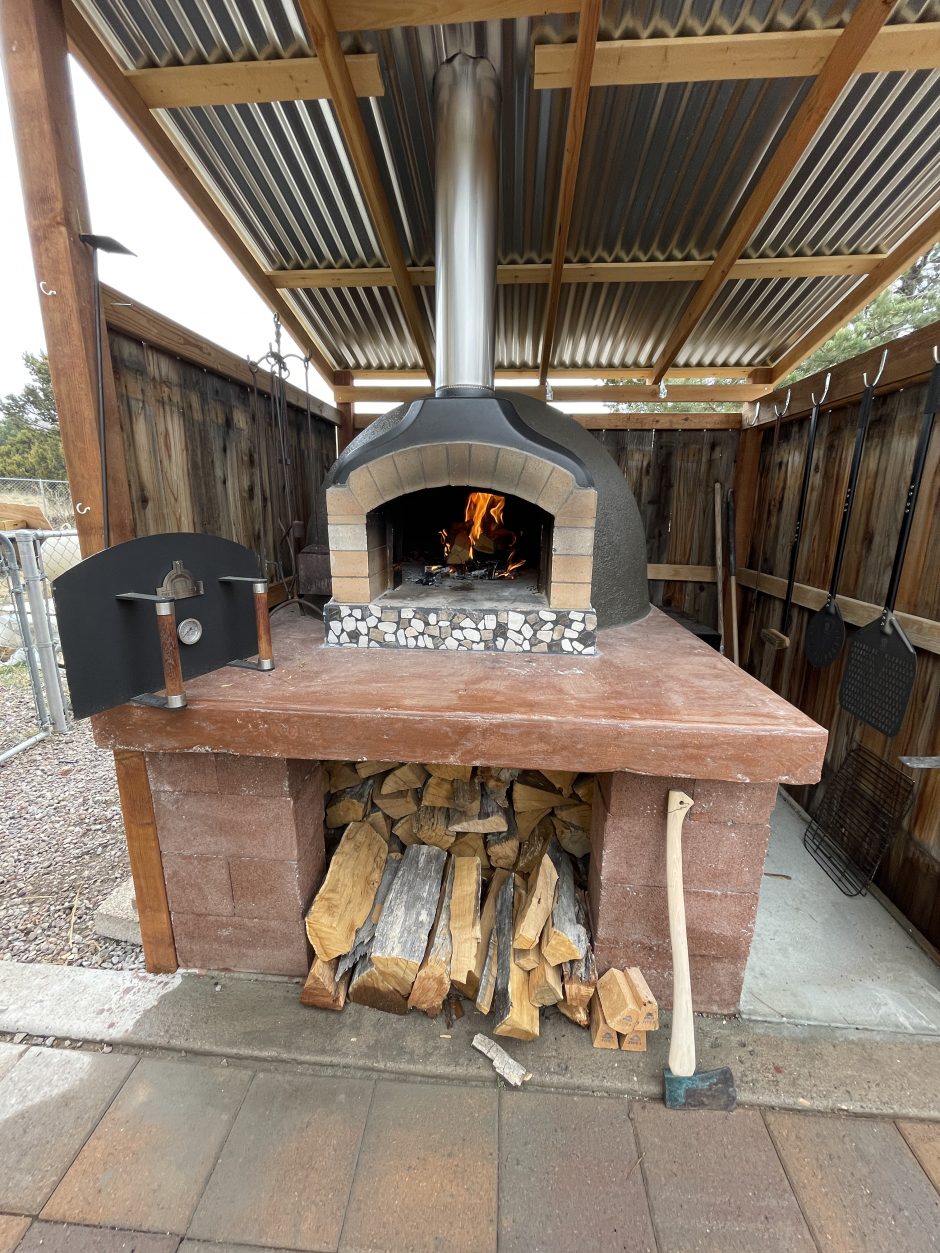
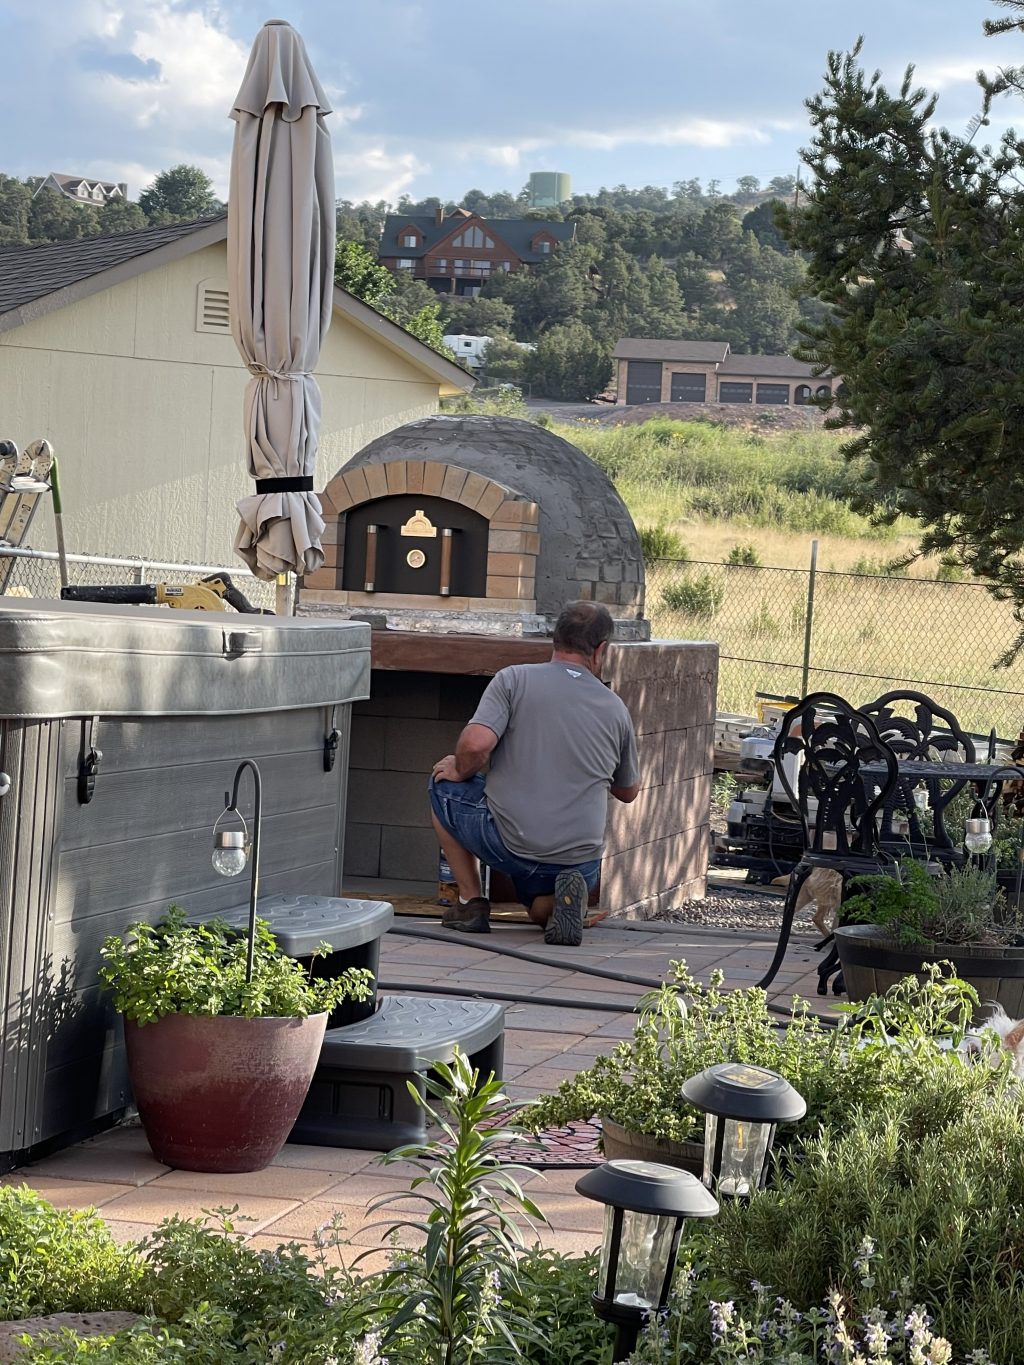
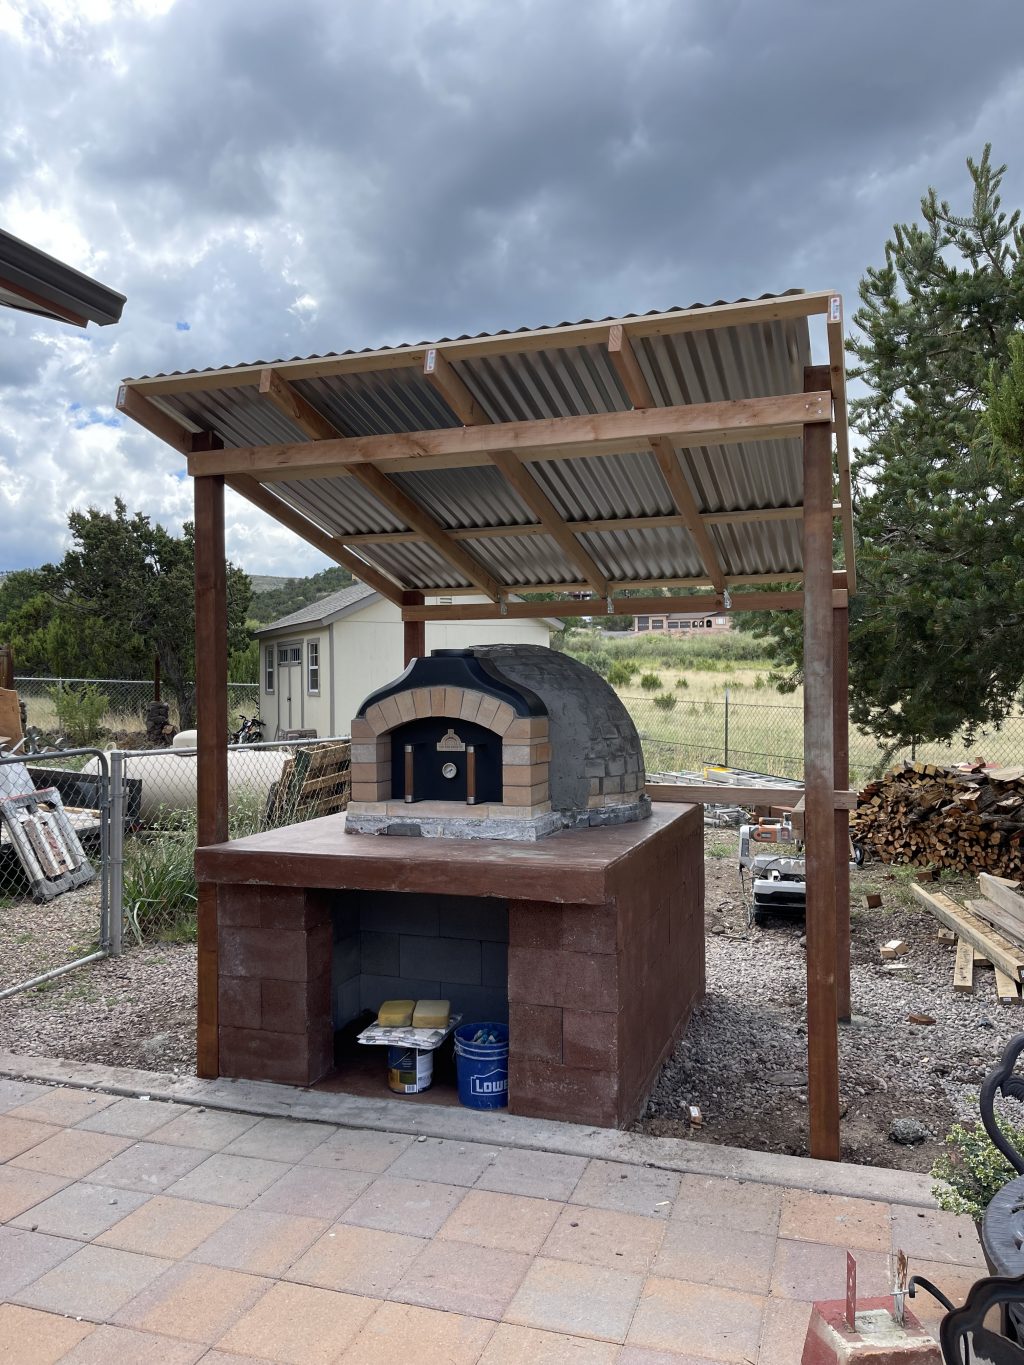
October, 2023: Final Touches

All that was left was painting the dome (had to pick out the perfect paint color) and adding side walls to the covering. Total project time was a little over 3 months.

Not just a Pizza Oven!

The key to good pizza is the crust, the sauce and the CHEESE! We needed to find a good recipe for pizza dough/crust and sauce. The sauce was easy, but finding a perfect dough/crust we like was trial and error. We finally settled on a quick, thin crust recipe. You can view some of our pizza crust ideas on Pinterest board named: Roll it and pat it, and mark it with a P. (For Pizza Dough & ME!)

In addition to making pizza in our oven, we’ve grilled steaks, baked meatloaf, baked lasagna in an iron baking dish, smoked peppers & tomatoes for our homemade salsa. The oven stays warm over night, so we can easily use it the following day.

I gotta ask: “What would you cook in a wood fired oven?”

The Relentless Redecorator

We love our wood fired oven. I kinda wish we had one inside our house! And yes, we have to stock up on the proper wood to cook with. Our #1 choice: Oak.

We aren’t just a market, we are Rustic Country Market Living.

Inspiring Home Life ♥️,

THE RELENTLESS REDECORATOR

My Retirement Reality

We passed thru the 2019 holiday season, and then got hit by 2020. (20/20: What I hoped represented “Perfect Vision.”)

Perfect Vision?

Amid all the 2020 confusion, I was preparing to retire. People asked, me are you sure you want to retire? Um, YES!!! We house shopped all over AZ (literally) for the perfect retirement area. We ended up purchasing a 1986 home in the White Mountains of Arizona, 5 hours from where we lived. Before I retired, we moved our household belongings into the new house over the weekends. Once our old house was empty, we sold it and briefly lived in our RV until I retired; then we moved into what we considered our rural, retirement retreat.

Our goal was to downsize and start a small, home based business built on Rustic Country Market Living, but we couldn’t find a smaller house. Instead we ended up with 1300 more SF, including a HUGE pantry (like a 3rd car garage). We thought we’d turn some of the extra space into a B&B, but instead, my mother moved in with us in 2021.

Things started to morph…

Our house has a chicken coup, so we got a few chickens. Later we found out we have predators in our area, so we had to take defensive measures. We added gutters and rain barrels to recycle water for our garden, fruit trees, grapevines, herbs and lavender.

We knew there were things that needed to be repaired in our “new” used retirement home, but what we didn’t anticipate was the amount of hidden deferred maintenance it had. Yes, we had a house inspection which turned out useless for us. No, we didn’t get a “home warranty.” The house has turned into a major fixer upper, tapping deeply into our retirement savings and absorbing our time.

A new look for an old house.
Continue reading “My Retirement Reality”

Creating a Stress Free Zone

We bought an Aquaterra Spas Ventura 96-jet, 6-person Spa from Costco (online). It was delivered as promised, wrapped on a (partially broken) pallet. It was delivered to the edge of our property. Prior to it arriving my husband (who is a contractor) set a paver stone base for it to sit on. He was able to use his rigging skills to relocate the nearly 918 pound spa from our front property edge, on to the paver stones. After we unwrapped it, we were glad to see there was no damage to the spa caused by the broken delivery pallet.

Spa Won’t Hold Water

When we started to add water, we quickly realized there was no drain cap! The spa was also missing the cover lock key(s). I called the manufacturer. They sent them to us – no problem. Next we hired a local, licensed electrician to run the electrical. The electrician buried the electrical line under the pavers so it would not be a trip hazard. Once it had power, we were thrilled to see it had no leaks when we turned the jets on!

Within a few weeks, we decided to buy a cover lift from the manufacturer, Watkins Wellness. To add the cover lift, we had to empty the spa so we could install it under the spa. If you buy a spa, consider buying the cover lift prior to installing the tub. We think Costco should offer the cover lift when you buy the spa.

We love that the spa comes with a Bluetooth sound system. The subwoofer sounds like it is located under the spa. We learned that if the spa drops or will not connect via Bluetooth, we need to flip the circuit breaker on and off.

Got Privacy?

Our next goal was to create some spa privacy. After scouring Pinterest and HGTV for ideas, we decided to build a bamboo privacy fence to surround our tub that does not block our sunset view or inhibit star gazing.

At first we were going to put a tall fence on the back and front sides, and a short fence facing our backyard, but we quickly changed that decision. We ended up with a tall fence all the way around and we used the short fence for the gate on the front side. Once the fence was complete, my husband secured the exterior pavers with concrete.

Creating Our Desert Oasis

We added a couple solar lights, and of course I added some decorative touches! I’m sure you can understand when you look at these pictures, why we wanted to preserve our sunset view.

Finally, we added a sun shade over the hot tub to protect it from the strong Arizona sun. Large enough to create shade, yet allow us to view the night sky. We used spring clips so we can easily take it down during monsoon season.

Love our desert oasis!

Spa Challenges & Lessons Learned

Balancing the chems has been challenging. We’d get one right and another would go wrong. One day we opened the tub to find it cloudy! We found the following website helpful: https://www.spadepot.com/spacyclopedia/adjusting-ph.htm

We added a drain valve prior to adding the drain cap. This makes it much easier to hook up a hose to drain the tub!

We learned that it is recommended you use an RV water filter on your hose when filling your spa. Who knew?!!!

It can get windy where we live, so I added some extra strong Velcro along the front edge to stop the cover from lifting and allowing dust and sand to enter the tub.

Another lesson: Don’t forget to loosen the clips on the backside of the tub BEFORE you lift the spa cover. They will break. And if (when) you break them, you can get replacement clips on Amazon.

Within 3 months we noticed that the screws on the speakers were rusting. We bought a set of stainless steel screws to immediately replace the screws. 

Problem Solved!

Inspiring Home Life,

THE RELENTLESS REDECORATOR